Case Switch and Animating a Turtle with CSS Variables

Enjoy these notes? Want to Slam Dunk JavaScript?
These are notes based on my Beginner JavaScript Video Course. It's a fun, exercise heavy approach to learning Modern JavaScript from scratch.
Use the code BEGINNERJS for an extra $10 off.
We are going to talk about switch statements now.
We already used a switch statement in our etch-a-sketch exercise. In this video we will go over them again and this time do an example where we animate a turtle.
Within the playground directory, open up switch-statements.html.
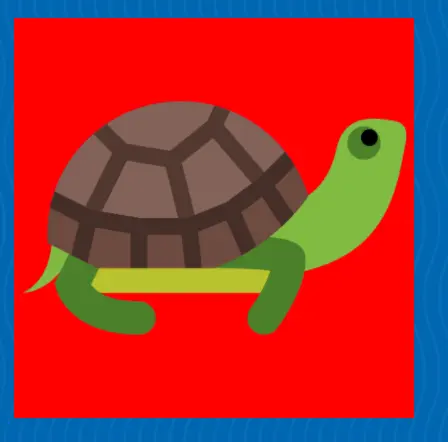
Add an image tag like so 👇
<img src="./turtle.png" alt="Turt" class="turt">
Now add a script tag and within that script tag grab the turtle and log it 👇
<script>
  const turtle = document.querySelector(".turt");
  console.log(turtle);
</script>
It's a bit big so add width="200" to the image element.
You should see the following when you load the HTML page 👇
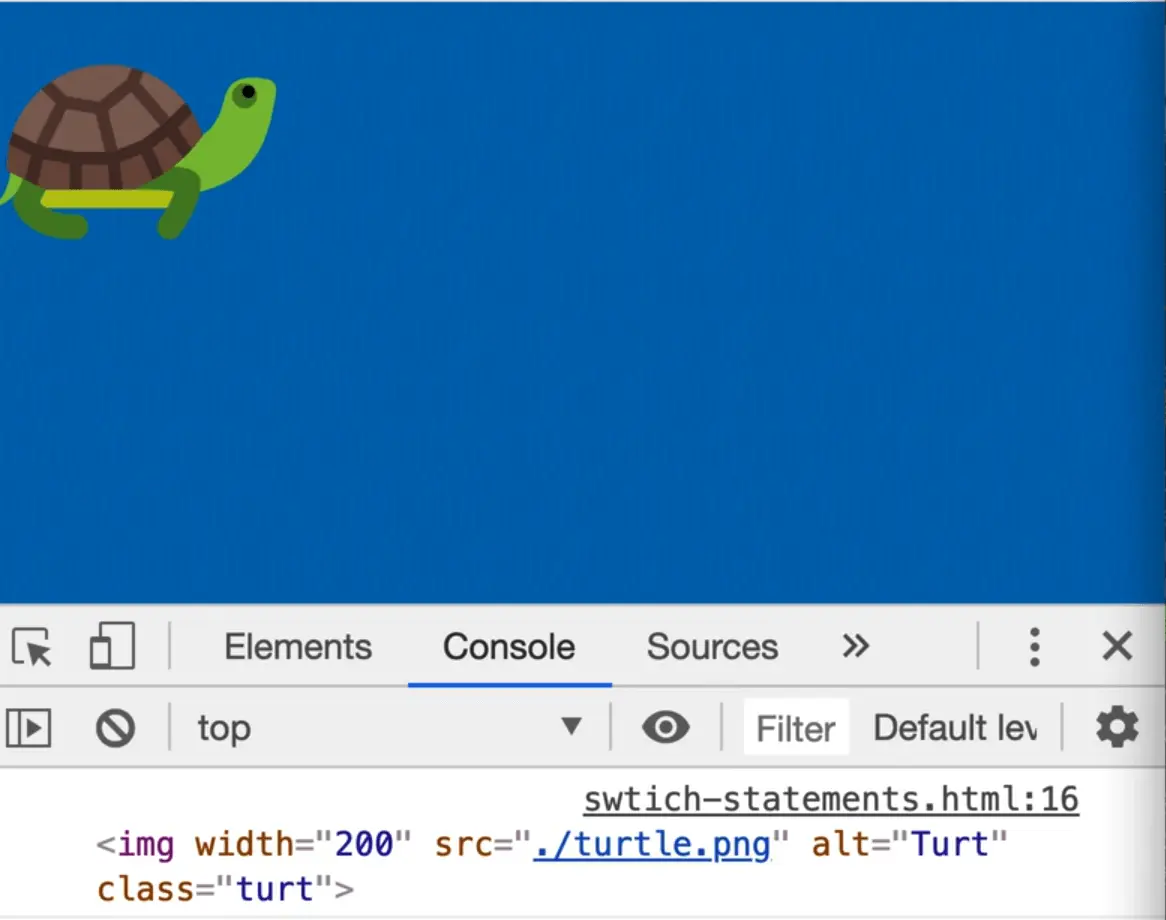
In this exercise, we want to make this turtle walk, and also flip around when you hit the arrow keys.
The first thing you need to do is listen for the keydown event. Make a function called handleKeyDown which you will pass to the keydown event listener.
In the handleKeyDown function, grab the event and log the event key like so 👇
function handleKeyDown(event) {
  console.log(event.key);
}

window.addEventListener("keydown", handleKeyDown);
YOu only care if it's an arrow key or not, so add code to check if the event key includes the word arrow and if it does not, just return which will exit out of the function like so 👇
if (!event.key.includes("Arrow")) { return; }
console.log(event.key);
If you refresh the HTML page and hit any key, you will see only the arrow keys are logged. That is because you are returning if the key is anything but an arrow key before logging.
Now you want to make the turtle move.
Declare two variables, x and y, right before the handleKeyDown variable and set both to zero.
let x = 0;
let y = 0;

function handleKeyDown(event) {
  if (!event.key.includes("Arrow")) { return; }
}
Now within handleKeyDown, when they move right, decrease the x and vice versa. This is a use case for a switch statement.
The way a switch works is you write switch and then you pass it the thing you are testing, so switch on the event.key.
Then there is a block which will contain a whole bunch of different cases. This is a bit easier to look at than an if statement in some cases.
The only downside is that they have to be clearly defined cases. There is no case like greater than 20, that is an if statement.
switch (event.key) {
  case 'ArrowUp':
    y = y - 1;
  case 'ArrowDown':
    y = y + 1;
  case 'ArrowLeft':
    x =  x + 1;
  case 'ArrowRight':
    x = x - 1;
}
Note: You might notice that prettier isn't auto-fixing on save. That is because we are writing JavaScript within an HTML file.
For each of the cases above, we need to add a break.
If you do not break, then it will keep going down to each of the cases which will cause trouble.
In a switch statement you must always break after each of your cases.
You should also always have a default case which will run if the condition doesn't match any of the cases. 👇
switch (event.key) {
  case 'ArrowUp':
    y = y - 1;
    break;
  case 'ArrowDown':
    y = y + 1;
    break;
  case 'ArrowLeft':
    x =  x + 1;
    break;
  case 'ArrowRight':
    x = x - 1;
    break;
  default:
    console.log("That is not a valid move");
    break;
}
Now that you have those variables, lets take the turtle and move him over.
After the switch, log the values of x and y and refresh the HTML page.
Open the console and hit some of the arrow keys.
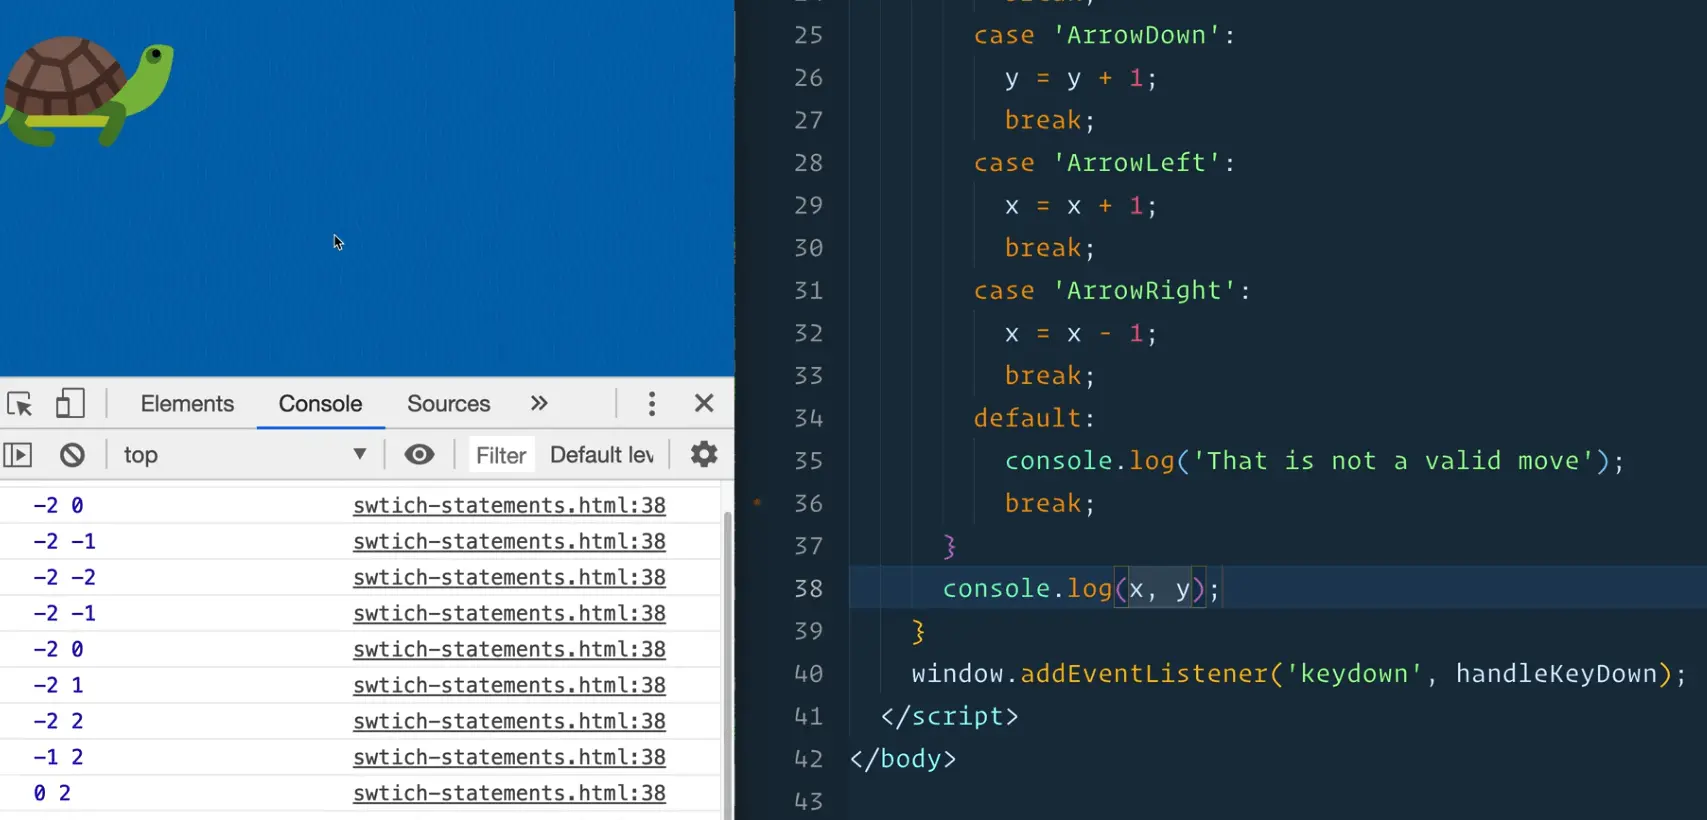
Oops! We made a mistake.
In our switch statement, ArrowLeft should be x = x -1; and ArrowRight should be x = x + 1, like so 👇
case "ArrowLeft":
  x = x - 1;
  break;
case "ArrowRight":
  x = x + 1;
  break;
Modify the switch statements and try again.
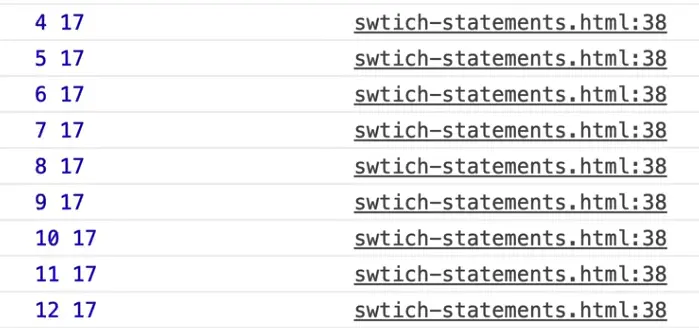
Now when you hit the up, down, left, and right keys you should see the x and y variables changing in the console.
Now you need to convey the x and y values to the turtle somehow.
We are going to do this via css variables.
Add a style tag right after the opening body tag.
Grab the turtle class and add the following 👇
<body>
  <style>
    .turt {
      position: relative;
      transform: translateX(10px) translateY(10px);
    }
  </style>
</body>
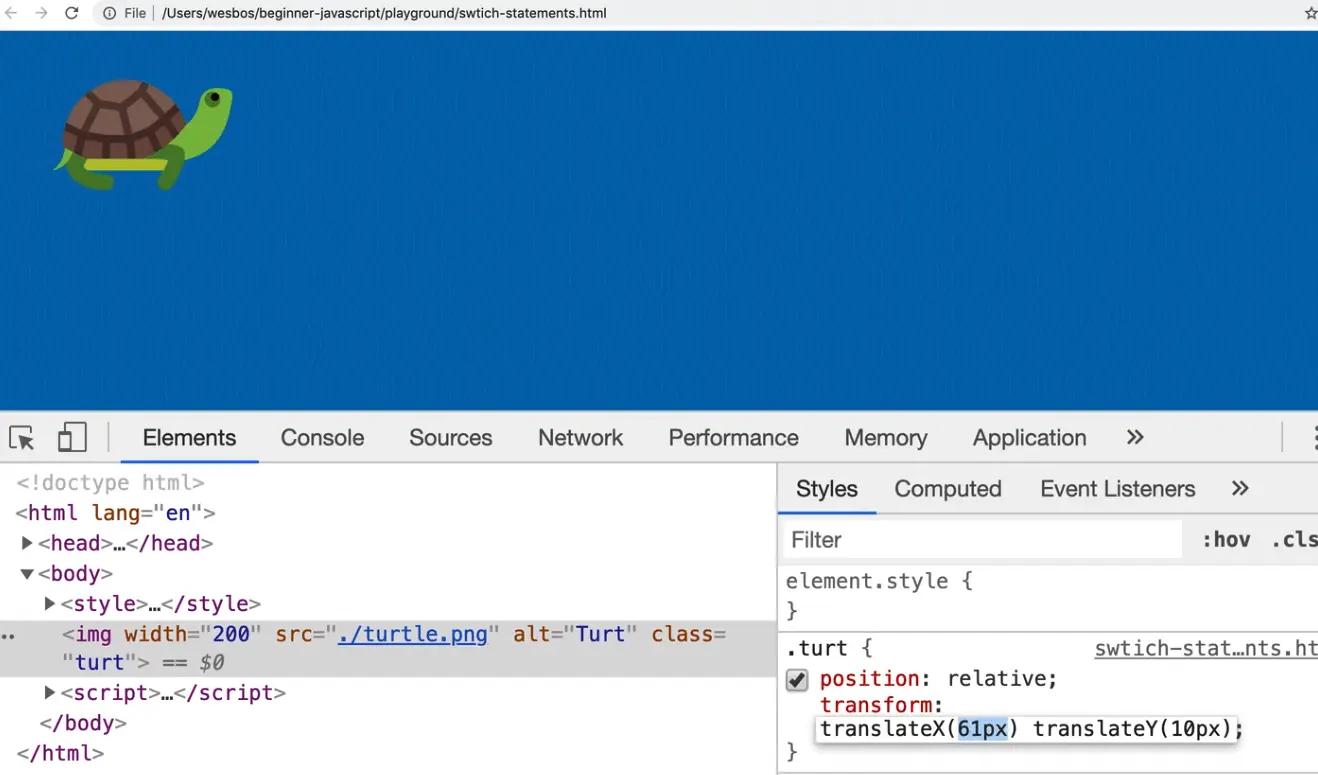
In the dev tools, if you manipulate the values of translateX and translateY, you will see that the turtle moves.
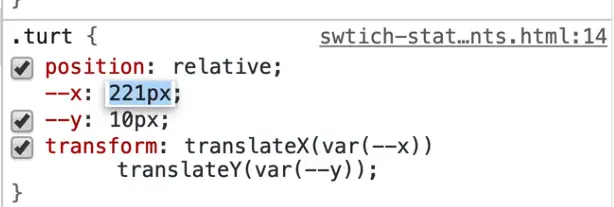
Now take those variables and put them into their own CSS variables like so 👇
<style>
  .turt {
    position: relative;
    --x: 10px;
    --y: 10px;
    transform: translateX(var(--x)) translateY(var(--y));
  }
</style>
Now if you modify the x or y variable values in the console, you will see that the turtle moves fine.
Next we are going to update the x and y CSS variables with JavaScript.
After the switch statement, we will grab our turtle and apply styles directly to it.
turtle.style.background = 'red';
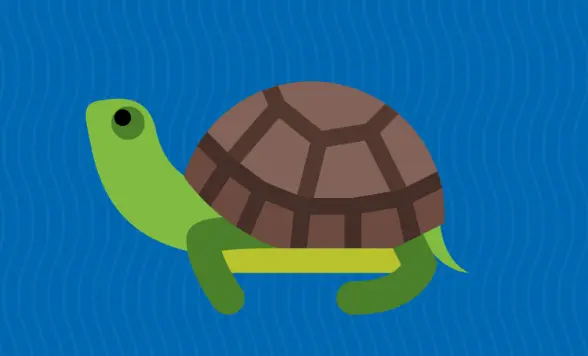
If you refresh the page and hit an arrow, you should see the following 👇
So if you want to apply a variable, you can't just do turtle.style--x.
Instead you have to use what is called square bracket notation. We haven't looked at this yet, but we will get into it more when we look at arrays and objects.
For now, know that you can also access a property in 2 ways, via:
turtle.style.background
or
-turtle.style['background']
When you use the square bracket notation, you pass it a string. Those two ways are exactly the same.
Try using the second approach to set the x and y CSS variables like so:
turtle.style["--x"] = `${x}px`;
turtle.style["--y"] = `${y}px`;
If you refresh the page and try hitting some arrow keys, you will notice that it does not work.
That might be because CSS variables are not standard CSS attributes.
Let's say you also set a value for the CSS property "madeup" which doesn't exist.
If you added the code turtle.style['madeup'] = 'green';, you will notice that it doesn't show up in the style tag. That is because only real CSS properties will be added.
So how do you apply custom CSS properties if it is not?
You can reach for setAttribute which you were looking at before. 👇
turtle.setAttribute("style", `--x: ${x}px; --y: ${y}px`);
Now if you refresh the HTML page and hit the arrow keys, you will notice that the turtle moves up, down, left, and right.
Set the x and y CSS variables to default at 0 instead of 10px.
One other thing you could do is something like a speed operator. Declare a speed variable after the x and y variable declarations like so 👇
let speed = 5;
Now modify the code which updates the x and y values to multiple them by speed like so 👇
turtle.setAttribute('style', `--x: ${x * speed}px; --y: ${y * speed}px`);
You will notice that now the turtle moves much more quickly.
You can also add a CSS transition, to make the turtle move a bit more smoothly, like so 👇
<style>
  .turt {
    transition: transform 0.2s;
  }
</style>
Feel free to increase the speed value to make the turtle go even faster. Wes set his to 50!
The last thing we are going to do is flip the turtle. When you press the left arrow key, the turtle should be facing the other way.
Add a variable flipped and set it to false like so 👇
let flipped = false;
Now within the ArrowLeft switch statement, add flipped=true; before the break. When we hit the ArrowRight case, set flipped = false;.
To flip the turtle, go into the CSS transform and rotateY to flip the turtle.
In the CSS, add another variable called --rotate: 0.
Modify the transform like so 👇
<style>
  .turt {
    --rotate: 0;
    transform: rotateY(var(--rotate)) translateX(var(--x)) translateY(var(--y));
  }
</style>
Further down where you use setAttribute, modify the code like so 👇
turtle.setAttribute('style',`
          --rotate: ${flipped ? '180deg': '0'}
          --x: ${x * speed}px;
          --y: ${y * speed}px;
          `);
Note: Because you are using backticks, you can move each variable to it's own line, as shown above👆
You might notice it looks a bit weird when we flip it. That is because we are rotating it before we move it.
Modify the transform to move the rotateY to the end of the transform. The order there matters!
<style>
  .turt {
    transform: translateX(var(--x)) translateY(var(--y)) rotateY(var(--rotate));
  }
</style>
Now when you hit the left arrow, the turtle should look left like so 👇
We could also rotate the turtle up and down.
Modify the CSS rotate variable from rotate to rotateX. Modify it everywhere it's called in the code.
Add another CSS variable called rotate and set it to 0.
Modify the transform to take that variable like so 👇
<style>
  .turt {
    position: relative;
    --x: 0px;
    --y: 0px;
    --rotateX: 0;
    --rotate: 0;
    transform: translateX(var(--x)) translateY(var(--y))
      rotateY(var(--rotateX)) rotate(var(--rotate));
    transition: transform 0.2s;
  }
</style>
We know that when we set rotate(90), the turtle is pointing down, and when we do rotate(-90), the turtle is going up. So we need another variable like flipped to keep track of that. Add a JavaScript variable called rotate and set it to 0.
let rotate = 0;
In the ArrowUp case, add rotate = -90.
In the ArrowDown case, add rotate = 90;. For ArrowLeft and ArrowRight we will set rotate to 0.
Finally modify the setAttribute statement to update the rotate variable like so 👇
turtle.setAttribute('style', `
  --rotateX: ${flipped ? '180deg' : '0'};
  --x: ${x * speed}px;
  --y: ${y * speed}px;
  --rotate: ${rotate}deg;
`);
Now when you hit the arrow keys left, right, up and down the turtle should be facing in that direction and also move in that direction.
Find an issue with this post? Think you could clarify, update or add something?
All my posts are available to edit on Github. Any fix, little or small, is appreciated!

 👀 spotted in Brooklyn
  Breakfast at wawa on 4th of July
How am I doing?
Breakfast at wawa on 4th of July
How am I doing?  Taking the family to NYC and NJ for the week.
Ready for my first 4th of July tomorrow
Taking the family to NYC and NJ for the week.
Ready for my first 4th of July tomorrow  What if websites were felt? What if UIs were just streamed in as video?