Traversing and Removing Nodes

Enjoy these notes? Want to Slam Dunk JavaScript?
These are notes based on my Beginner JavaScript Video Course. It's a fun, exercise heavy approach to learning Modern JavaScript from scratch.
Use the code BEGINNERJS for an extra $10 off.
In this video, we will learn about traversing through our DOM element and removing elements from the DOM.
Create a file name traversing.js and go into our index.html and modify the script source to point to the new file.
Traversing means going up, down, over etc. When you have an element, you often need to select an element based on it's position.
For example, sometimes you are working on a button and need to select the parent div, or you need to look inside of the button for all the elements inside of it.
There are lots of properties for that, and they all revolve around node and elements.
The difference between a Node and an Element
We will do an example to demonstrate the difference.
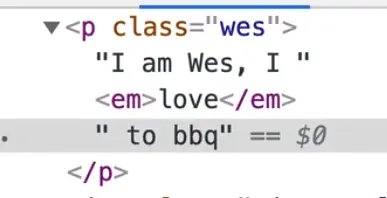
In the index.html file, create a p tag with the class of wes, and within the paragraph tag add a few elements, as shown below 👇
<p class="wes">I am Wes, I <em>love</em> to bbq</p>
In the JavaScript, select that paragraph.
const wes = document.querySelector('.wes');
console.log(wes);

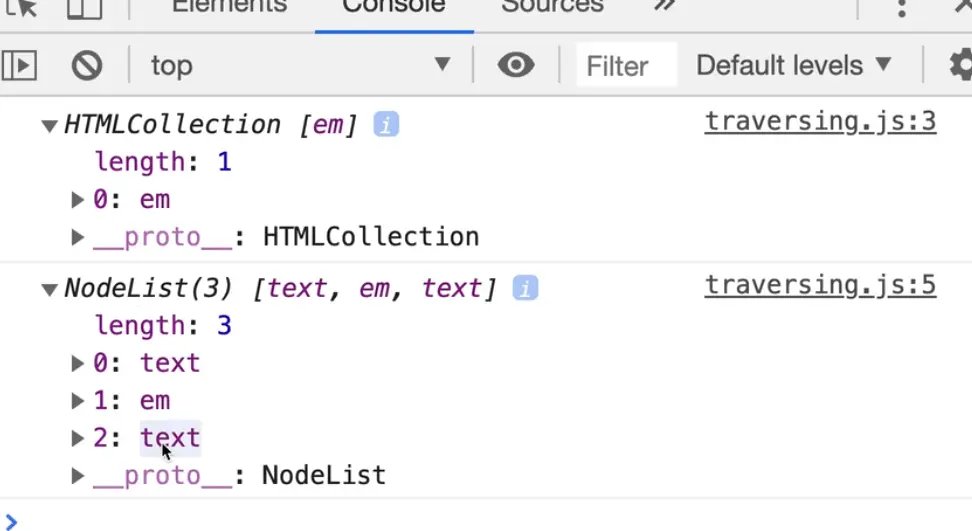
If instead you log wes.children, it will return a collection of one thing in the console, which is the em tag we just added.

If you log wes.childNodes instead, you will see that it returns a NodeList of three things:
- text
- em
- text
In the HTML collection, only the em element was returned.
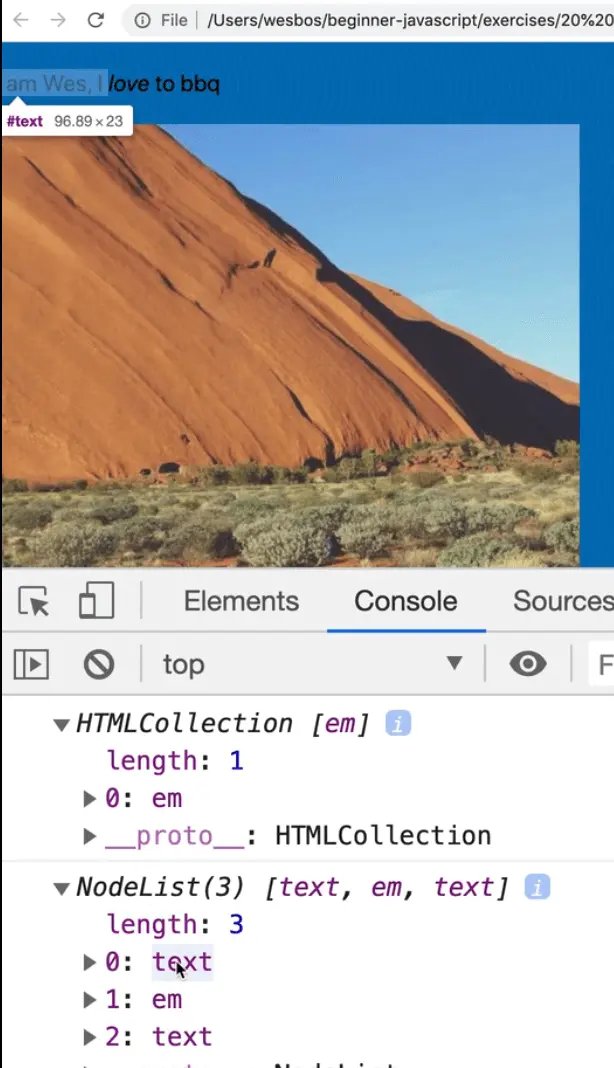
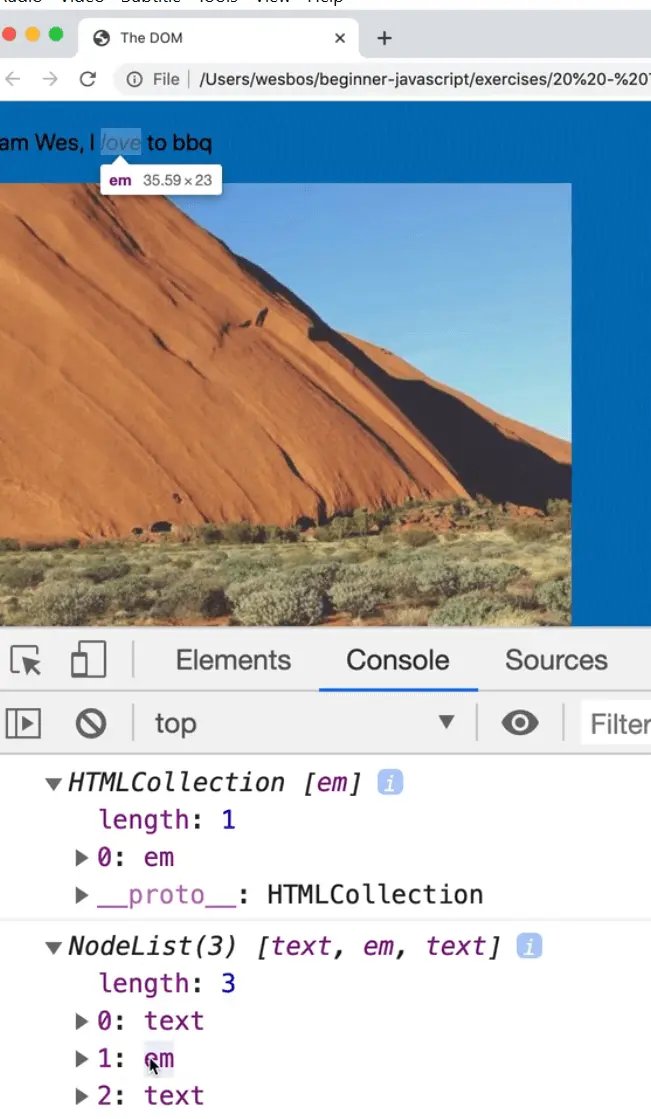
If you hover over the nodes in the console one at a time, you will see it highlighting the corresponding node on the HTML page.
This is the first text node.
Then the emphasis node.
Then the rest of the text.
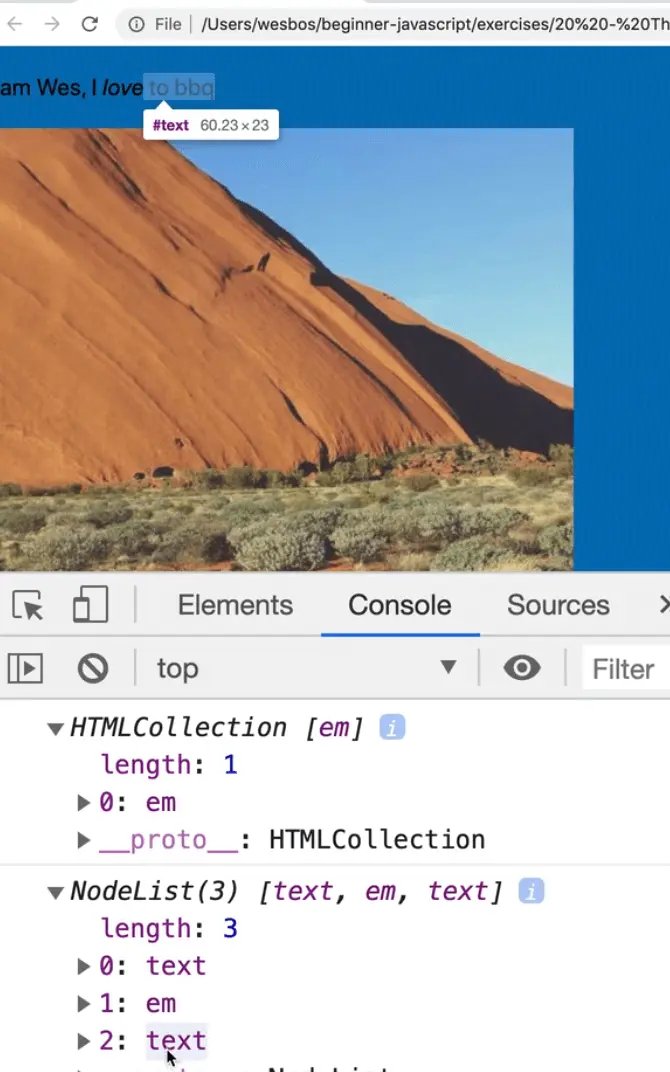
Everything in our NodeList in the console is a Node, and if it is wrapped in a tag, it is also an element, but it doesn't work the other way around.
If you only select elements, you won't have nodes returned. But if you select the nodes, you get all of the three different pieces.
VS Code TIP: You can do multi-cursor in VS Code. The way you use that is you hold down command or control and click wherever you want the cursors to go. In this video Wes used multicursor by selecting an element and then doing command + D to grab other occurences
Properties to work with Nodes and Elements
We already looked at children, which gives you child elements or child nodes.
Let's add a few more elements to work with.
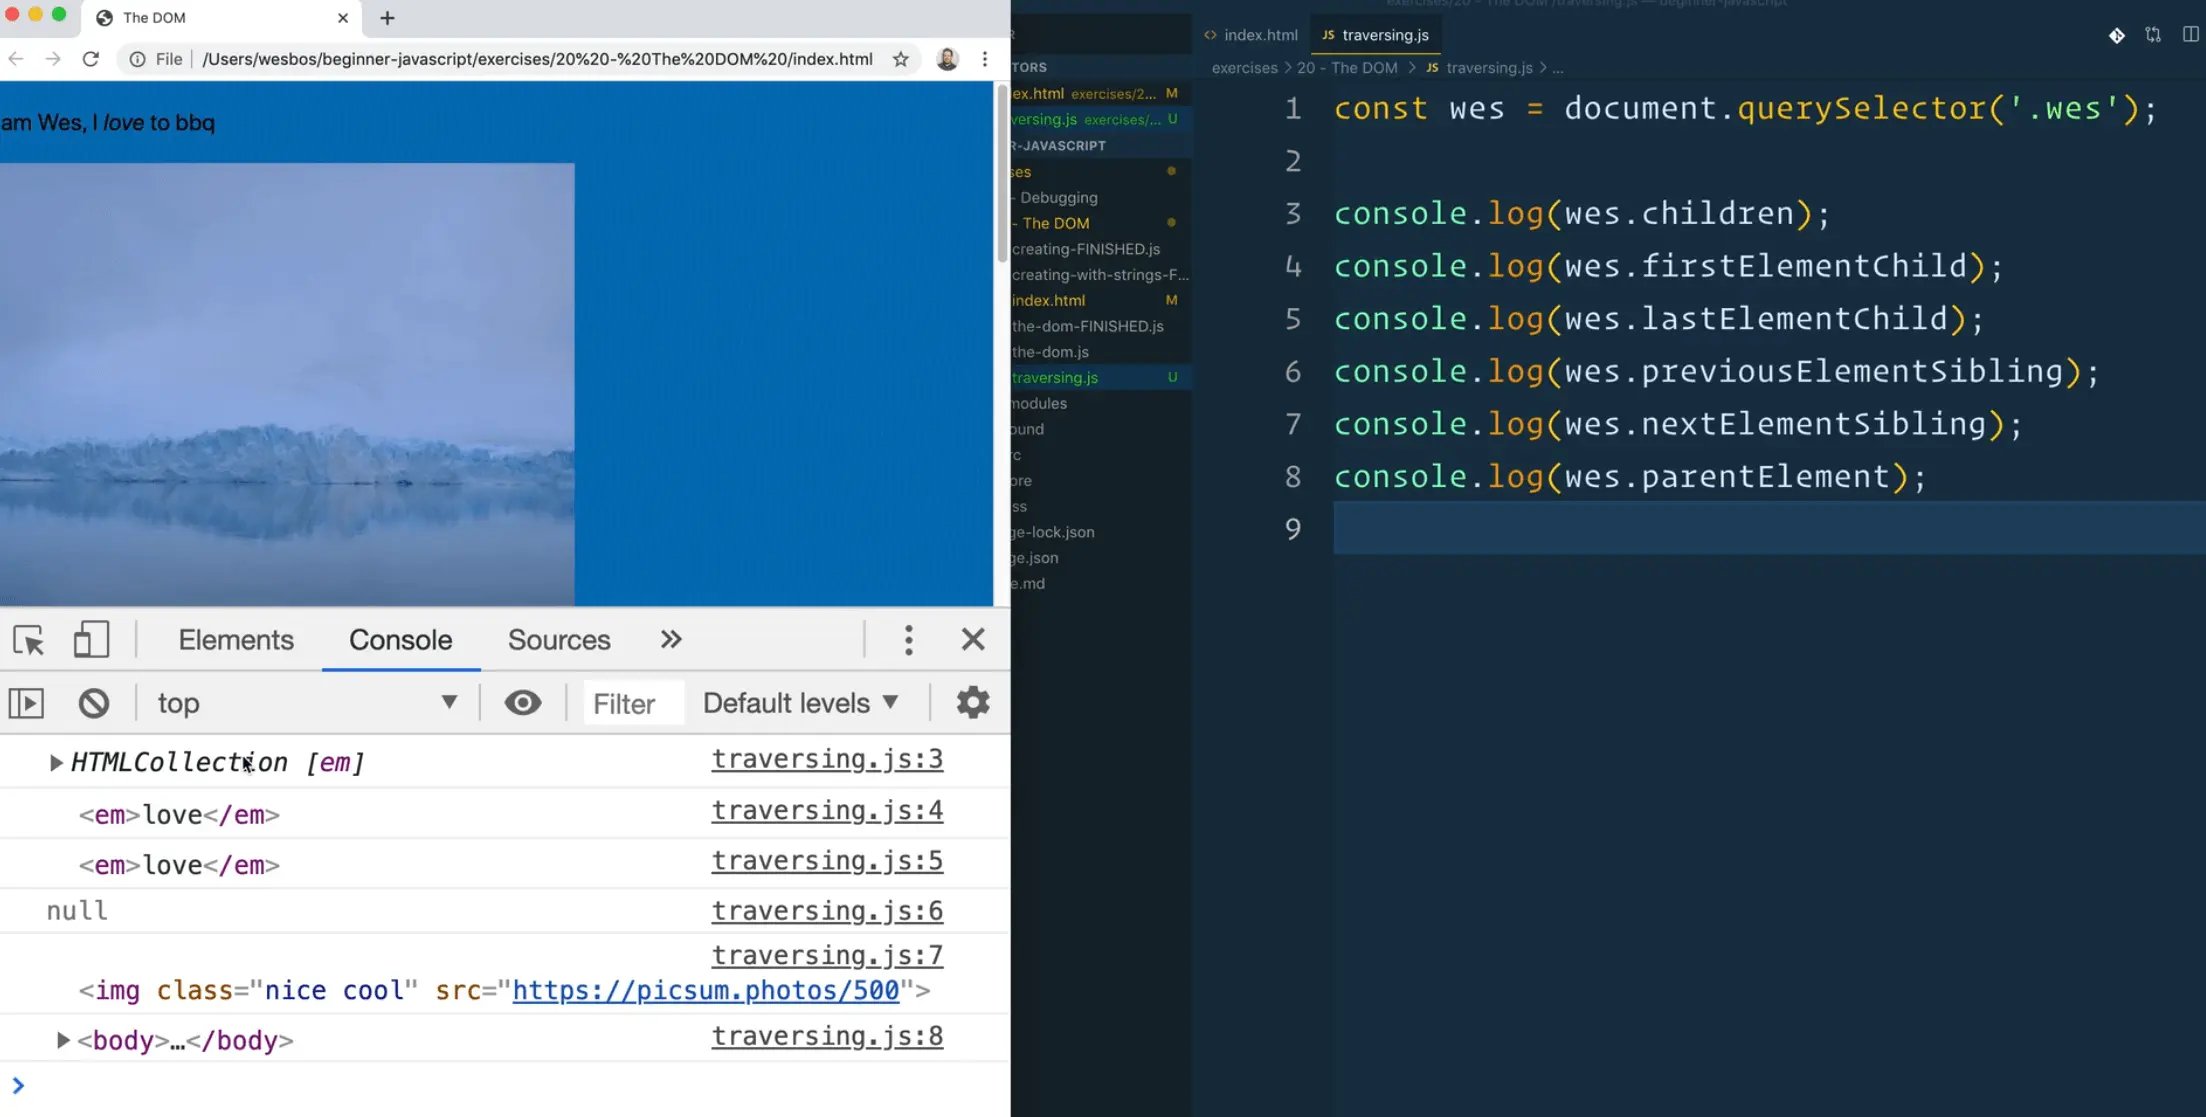
console.log(wes.firstElementChild);
console.log(wes.lastElementChild);
console.log(wes.previousElementSibling);
console.log(wes.nextElementSibling);
console.log(wes.parentElement);
console.log(wes.children);
Here is the result when you refresh the index.html page.
 3:59
3:59
children gives you the children.
Let's add a few more elements inside of the p tag.
<p class="wes">
  I am Wes, I <em>love</em> to bbq and <strong>Make websites!</strong>
</p>
If you refresh that page, you should get the following results:
firstChildElementreturns the emphasis element.lastChildElementreturns the strong element.previousElementSiblingis null.
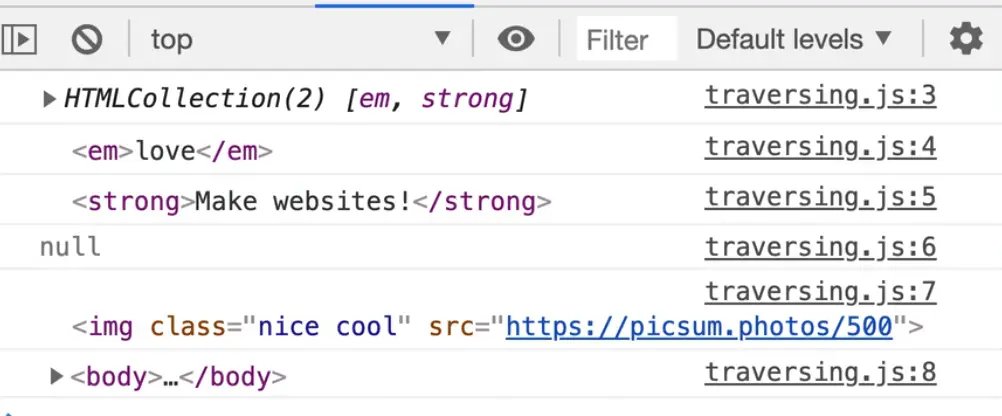
Why is previousElementSibling null?
If you look at the HTML page, you will see that a few elements with the class of item are next to each other.
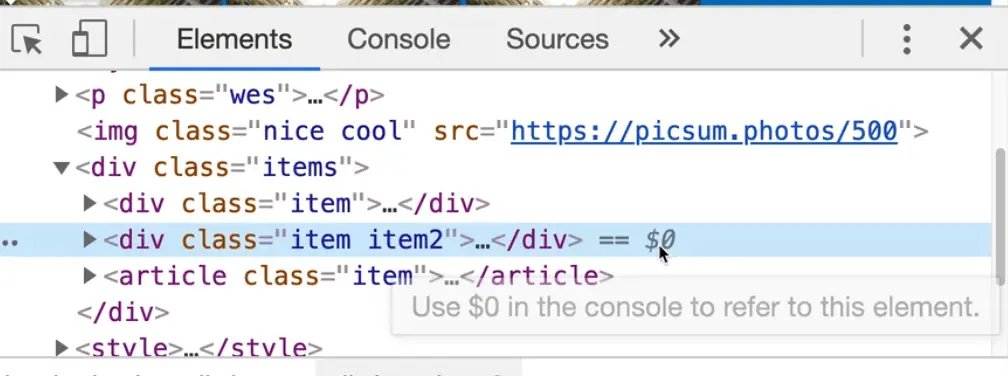
If we were to grab the second item by clicking it in our developer tools and then using $0 to reference it in the console, we can take it and run the following code in the console:
$0.childrenElementCount
👆That will tell us the number of children elements.
$0.children
👆 That will return a collection of three elements.
$0.previousElementSibling
👆 That will give you the item that is before it.
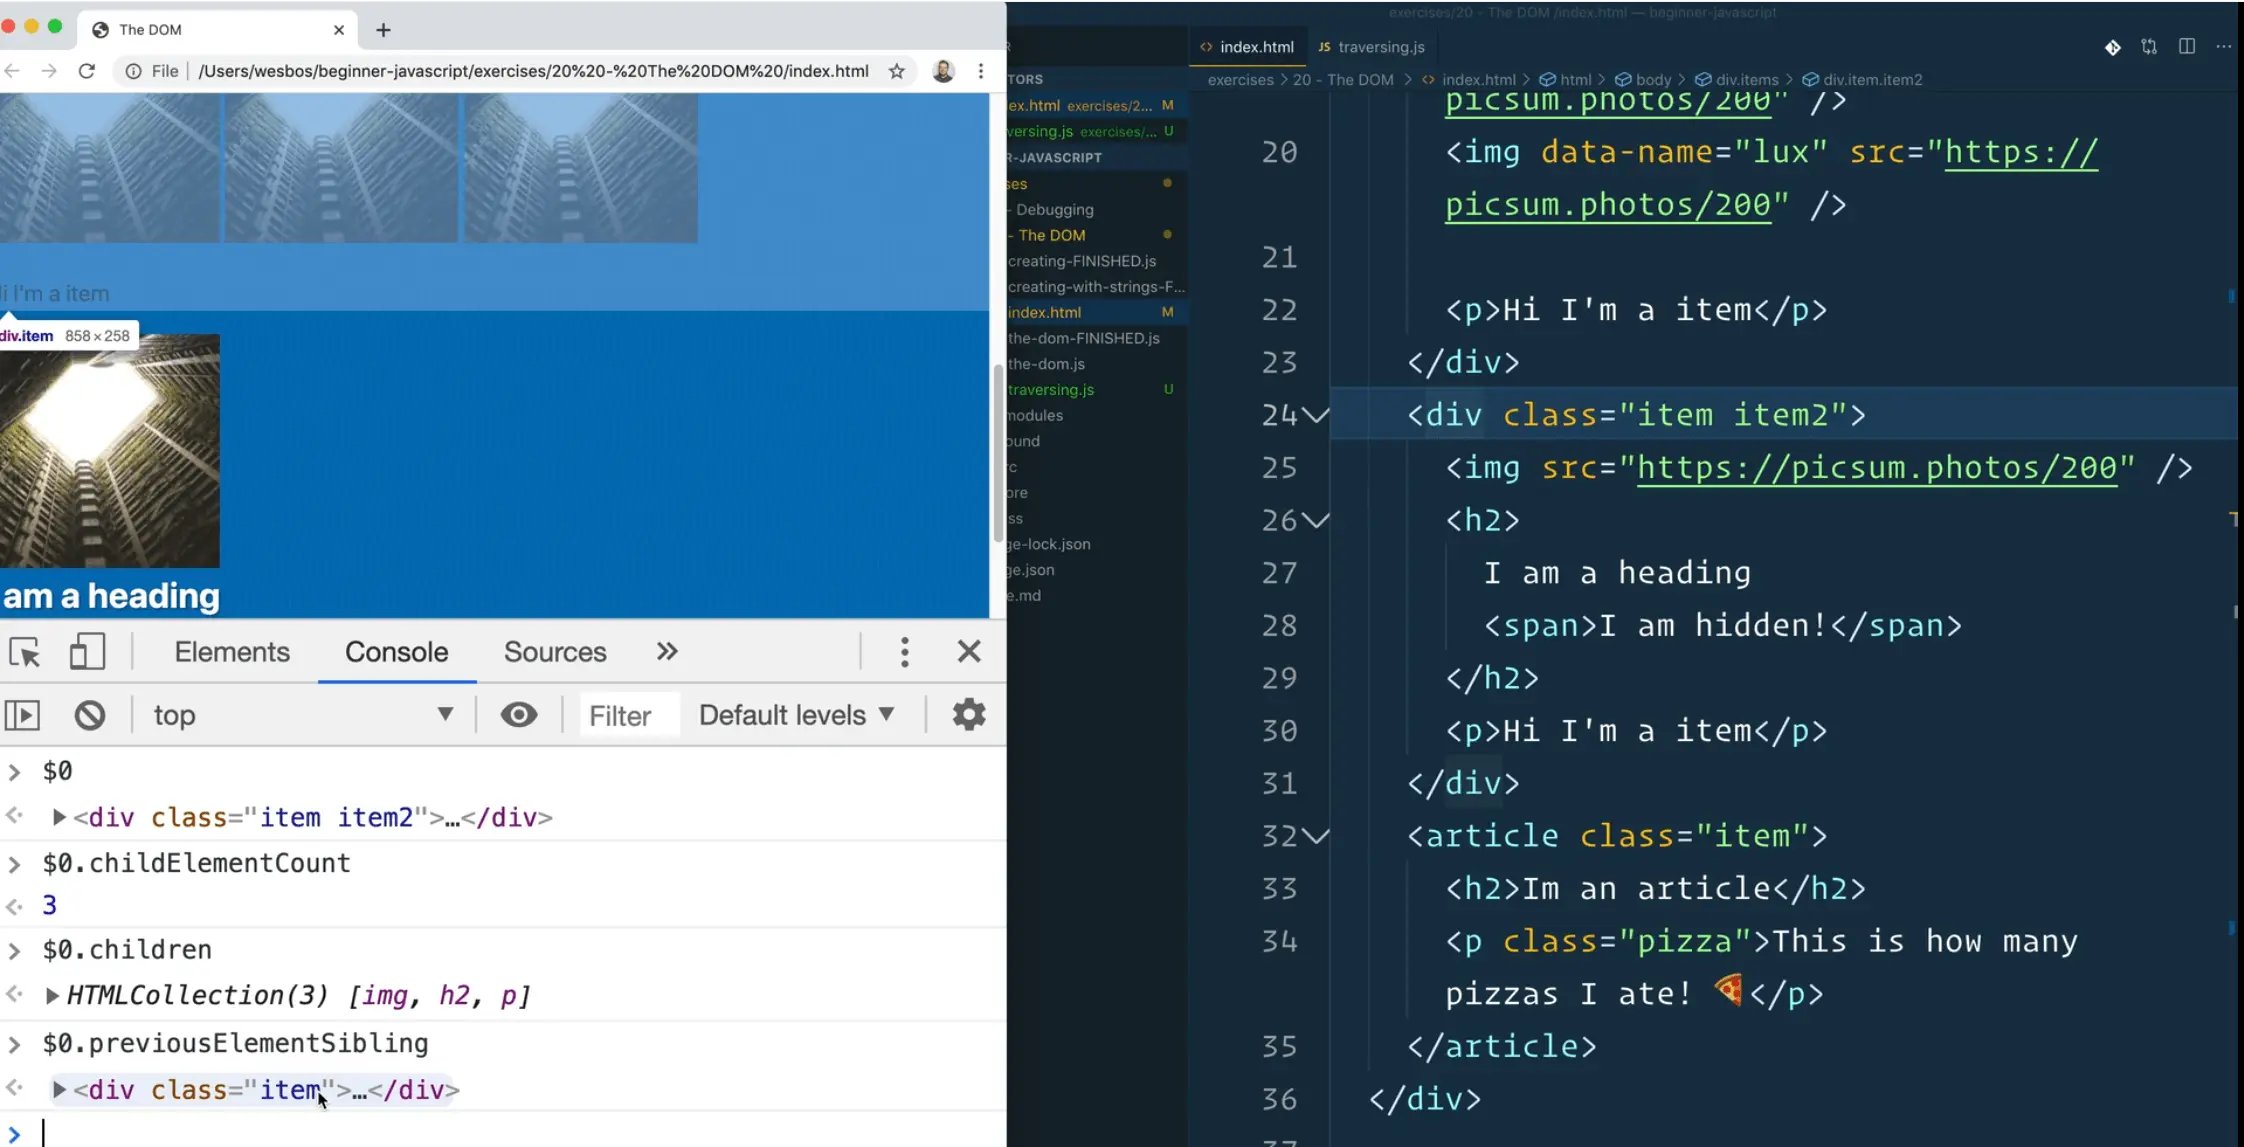
We were on item2, and the previous element sibling is the first item. In the code we wrote in our JavaScript file, we selected the first item, which has no previous sibling, thus it returned null.
jQuery used to make this easy with syntax like .prev() .next(). All of that is still doable with these properties. They are not named the nicest things but they work and you can figure it out.
There is nextElementSibling which will grab the sibling element after the currently selected element.
And then there is parentElement which will go up and give you the parent element of the currently selected element.
If you take an element that is really low in the document like one of our image elements, you can chain calls to .parentElement like so 👇

How high can you chain?
To find out, add one more .parentElement, which will return HTML, and if you add one more, it will returns null. That means we have reached the top most element.
In the elments tab in the dev tools, select the span within item2, and in the console write $0, which should return the span.
$0.parentElementwill return theh2and chaining one more,$0.parentElement.parentElementwill returnitem2.$0.parentElement.parentElement.nextElementSiblingwill return the first item.
Now you can go down again using .children[1] to select the paragraph with a class of pizza. We will talk about the square bracket notation([]) shortly, but essentially that is how you reference items that are indexed.
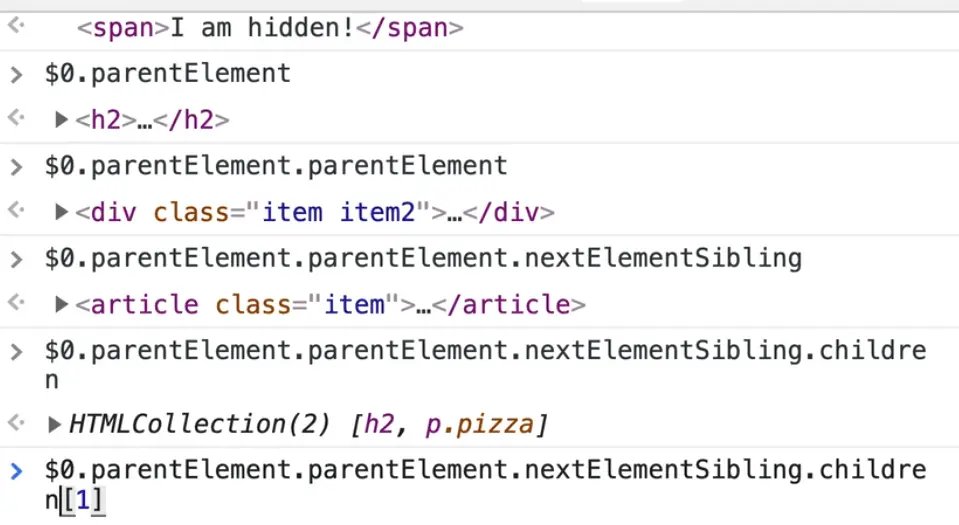
In the code above, we started with the span in item2, we went up, up, over down and selected the second element.
That is probably not something you would do because assuming that the structure of the HTML is the best way to move around elements is probably not a good idea because if someone adds an extra div, then everything is ruined.
Using querySelector is better to use to search for what we want. There is also another method .closest() which will allow us to search.
We also have a bunch of different properties for Nodes as well.
el.childNodes
el.firstChild
el.lastChild
el.previousSibling
el.nextSibling
el.parentNode
Unlike the element properties, these will not ignore text nodes, so it's important to know the difference.
In most cases, you probably want the element selectors but in some instances you want the node selectors.
Removing Elements
There is a method on every single element on every single node which is the ability to remove something.
Let's do it from the dev tools.
Grab the h2 by clicking the element in the element pane and then in the console write $0.remove()
That removes the element completely from the DOM.
The only kinda gotcha is what happens if you were to create an element, add it to the DOM and call .remove()?
Let's try it with the code below 👇
const p = document.createElement("p");
p.textContent = "I will be removed";
document.body.appendChild(p);
p.remove();
If you open the index file in the browser, you won't see the p tag because we added it and then immediately removed it.
The question now is what if you log p after you call remove(), will it be null, undefined?

It is still there!
The fact that we had created that element and it exists in our JavaScript memory means that we do still have access to that paragraph element and we could add it back in to the DOM.
If you have reference to that element in JavaScript, and you've created it in your JavaScript, you can add it again.
Find an issue with this post? Think you could clarify, update or add something?
All my posts are available to edit on Github. Any fix, little or small, is appreciated!

