Tabs

Enjoy these notes? Want to Slam Dunk JavaScript?
These are notes based on my Beginner JavaScript Video Course. It's a fun, exercise heavy approach to learning Modern JavaScript from scratch.
Use the code BEGINNERJS for an extra $10 off.
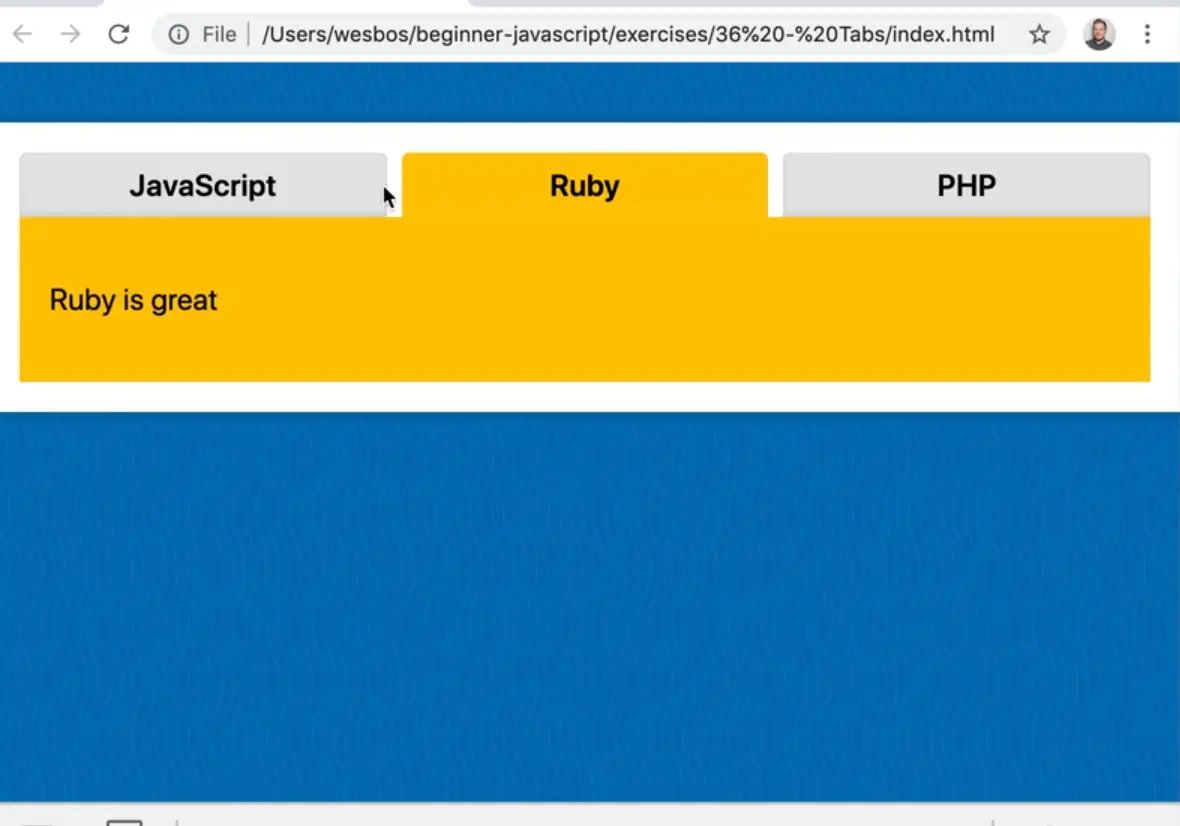
In this example we are going to build tabs.
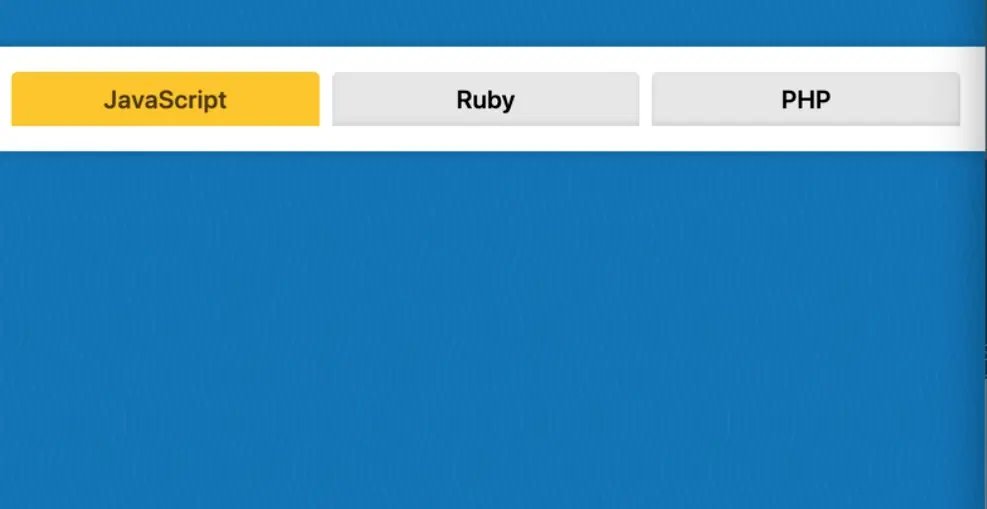
Tabs are pretty simple, you click on the tab you want and it shows the content associated with it.
In this example we will practice showing/hiding things, event listeners, looping before we even learn and wee will learn how to make it accessible.
The user should be able to use their keyboard to move between tabs without touching mouse.
Let's start by looking at the HTML we will be working with.
<body>
  <div class="wrapper">
    <div class="tabs">
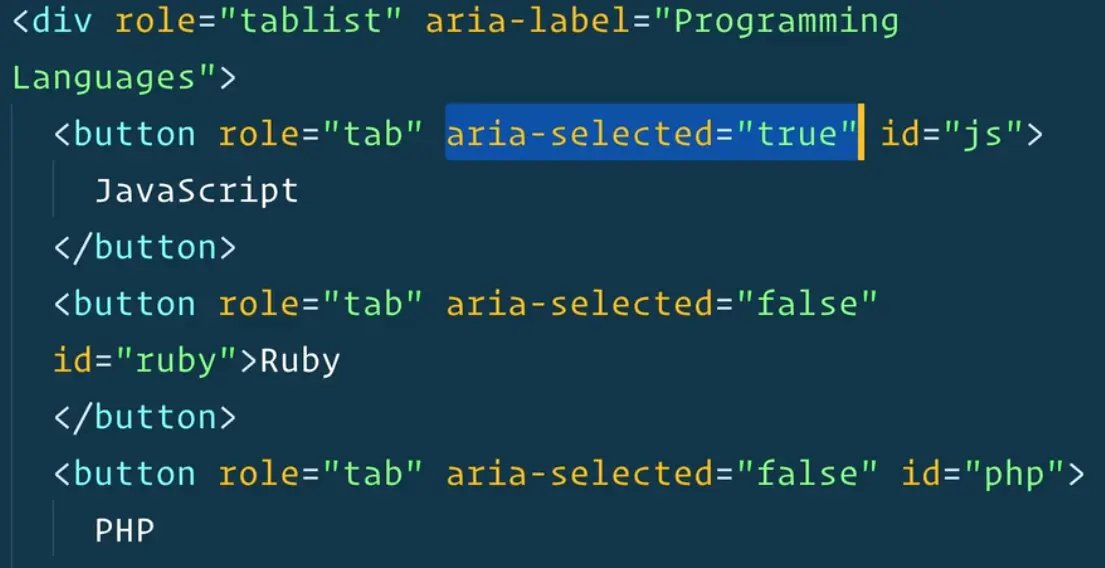
      <div role="tablist" aria-label="Programming Languages">
        <button role="tab" aria-selected="true" id="js">
          JavaScript
        </button>
        <button role="tab" aria-selected="false" id="ruby">Ruby
        </button>
        <button role="tab" aria-selected="false" id="php">
          PHP
        </button>
      </div>
      <div role="tabpanel" aria-labelledby="js">
        <p>JavaScript is great!</p>
      </div>
      <div role="tabpanel" aria-labelledby="ruby" hidden>
        <p>Ruby is great</p>
      </div>
      <div role="tabpanel" aria-labelledby="php" hidden>
        <p>PHP is great!</p>
      </div>
    </div>
  </div>
  <script src="./tabs.js"></script>
</body>
We have a wrapper div with a class of "tabs" and nested within div is another div but this one has a role of tablist
You will notice a lot of role and aria labels in the HTML and that is important because it is how you make your tabs accessible to everyone and that search engines can easily read it.
When you use proper markup, it is good for both accessibility and SEO.
We tell the browser that the div is a tab list using the role="tablist" attribute.
That div also has an aria-label="Programming languages" attribute. That is for screen readers to know what the list is about.
Inside of the tablist there are 3 buttons. Each of those buttons has a role of tab and an id that contains the name of the programming language.
One of the buttons also has an aria-selected="true" attribute.
That is how you are going to maintain whether the tab is currently active.
If you take a look at our tabs-style.css you will see that whenever a button has an attribute of aria-selected we change the background color, the text color and remove the box shadow. 👇
button[aria-selected="true"] {
  background: var(--yellow);
  box-shadow: none;
  color: rgba(0, 0, 0, 0.7);
}
You don't have to worry about where to put the tabs and buttons because they are sort of clicked together by the id and the aria-labelledby of the actual tab panel.
Further down in the HTML we have each all of our different tab panels.
<div role="tabpanel" aria-labelledby="js">
  <p>JavaScript is great!</p>
</div>
<div role="tabpanel" aria-labelledby="ruby" hidden>
  <p>Ruby is great</p>
</div>
<div role="tabpanel" aria-labelledby="php" hidden>
  <p>PHP is great!</p>
</div>
We can associate a tab panel with a specific button by giving it an aria-labelledby.
That is just descriptions, this aria-labels we are adding is not giving us any sort of functionality. It is just a good way to describe markup in the browser.
Now you can apply an attribute of hidden to the non-selected tab.
The hidden attribute is great because you don't have to write any CSS classes to hide it. You just pop that attribute on or off and it will show and hide it.
Our default state is to show the first tab button as selected and to show the first tab panel content.
Let's start writing the code, beginning with selecting:
- the tabs div
- the tab buttons
- the tab panels.
To grab the tab buttons, you will look inside of tabs instead of the document because you may have more than one set of tabs on the page, so you should write JavaScript to support that.
const tabs = document.querySelector('.tabs');
const tabButtons = tabs.querySelectorAll('[role="tab"]');
const tabPanels = tabs.querySelectorAll('[role="tabpanel"]');
Next, loop over the buttons using a foreach and add a click event listener to each.
Because they are buttons, the click event will fire when you use the keyboard as well so there is no extra keyboard work you need to do.
Pass it a function handleTabClick, like so 👇
const tabs = document.querySelector('.tabs');
const tabButtons = tabs.querySelectorAll('[role="tab"]');
const tabPanels = tabs.querySelectorAll('[role="tabpanel"]');

tabButtons.forEach(button => button.addEventListener('click', handleTabClick));
Add the handleTabClick function, like so 👇
const tabs = document.querySelector('.tabs');
const tabButtons = tabs.querySelectorAll('[role="tab"]');
const tabPanels = tabs.querySelectorAll('[role="tabpanel"]');

function handleTabClick(event) {
  console.log(event);
}

tabButtons.forEach(button => button.addEventListener('click', handleTabClick));
Now when you click on one of the tabs it gives you the event.
If you logged event.currentTarget and then clicked different tabs, you would see each of the buttons logged.
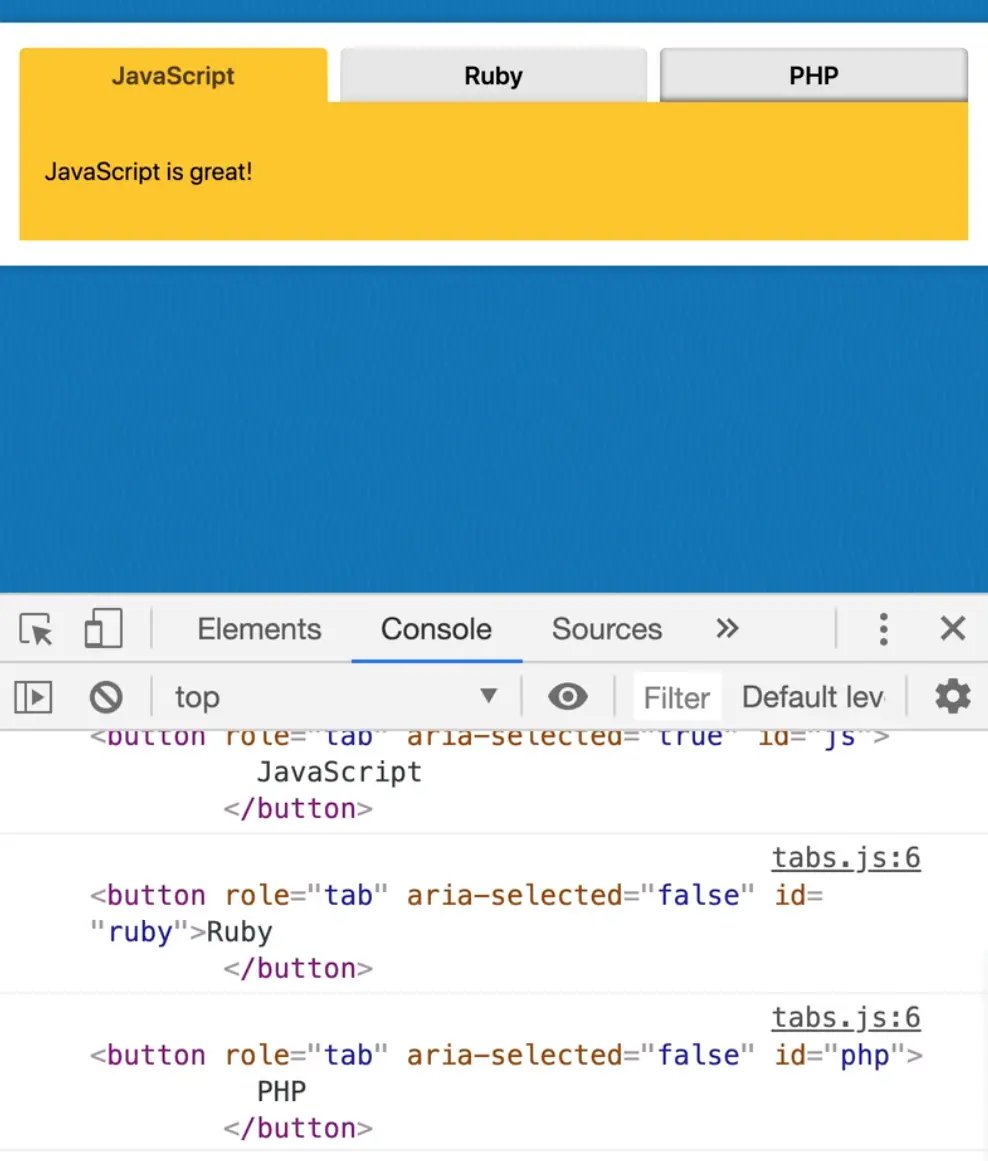
Now let's get into looping which you haven't learned yet but it's good to preview it before you hit the looping lesson and to see some examples of where you might use it in real life.
When somebody clicks a tab, the first thing you need to do is hide all the other tabs and mark them as unselected.
Then you have to mark the clicked tab as selected, and then find the associated tabPanel and show it.
Let's add all those steps as pseudocode, which is just putting into words what you are trying to do so you can grasp the steps that need to happen when someone clicks it.
We will go one by one and write the code for it.
function handleTabClick(event) {
  // hide all tab panels
  // mark all tabs as unselected
  // mark the clicked tab as selected
  // find the associated tabPanel and show it!
}
We have already selected all the tab panels at the top of our file.
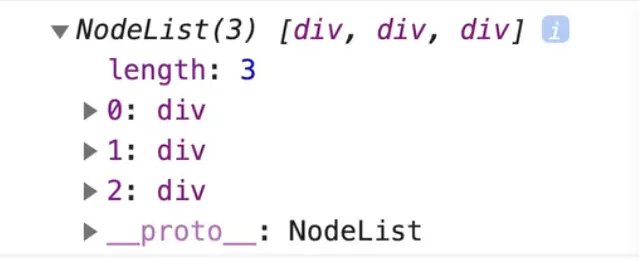
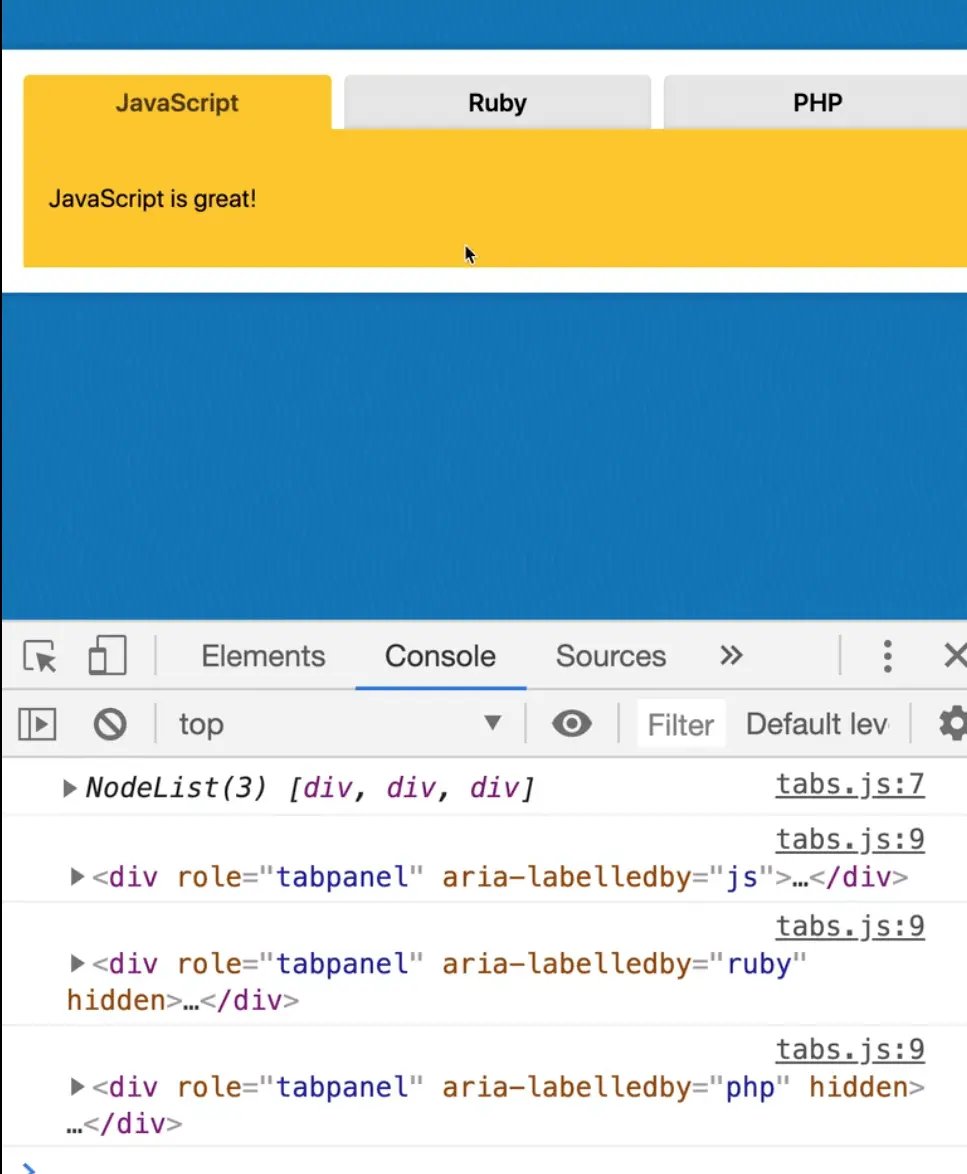
If you were to log them within the handleTabClick event, you would get a node list with the 3 divs.
The tab panels are getting hidden by the hidden attribute.
What you can do is loop over each of them using .forEach and for each item hide it, like so 👇
tabPanels.forEach(function(panel) {
  console.log(panel);
})
That code will take the node list of the 3 panels, loop over each one, and for each item, you get a variable called panel, which is how you reference each instance. Log it.
If you click on one tab, you get 3 separate console logs of each of them.
Modify the code like so to set each panel to hidden. 👇
tabPanels.forEach(function(panel) {
  panel.hidden = true;
})
As soon as you click on any tab, all the panels turn to hidden.
To refactor that to an arrow function, you would simply modify the code like so 👇
tabPanels.forEach(panel => {
  panel.hidden = true;
});
Note: you could have made that arrow function a one liner but it's better to make your function as readable as possible rather than try to make them as short.
In a future step, you will go back and show one of those tabPanels.
You could just filter out the selected tabPanel when hiding them, but in Wes' experience it is much easier to just hide them all and then show the one that we want.
The next step is to take the tabs and mark them all as unselected.
As you can see, we are using the aria-selected attribute to set whether it is selected or not.
So how do you set that? Would tab.aria-selected = false work?

It does not, because you can't put dashes in it.
So how do we access a property when the property has a dash in it?
If you go to the HTML page, click on one of the buttons in the Elements tab of the dev tools, then flip to the console and use our $0 trick, you can access it like so 👇
$0.ariaSelected
Anytime that you see an attribute with a dash on an HTML element, you can almost always access that with the camel cased version of that.
Let's try that.
tabButtons.forEach(tab => {
  tab.ariaSelected = false;
});
If you refresh the page does that work?
No. You will see a tab is still selected.
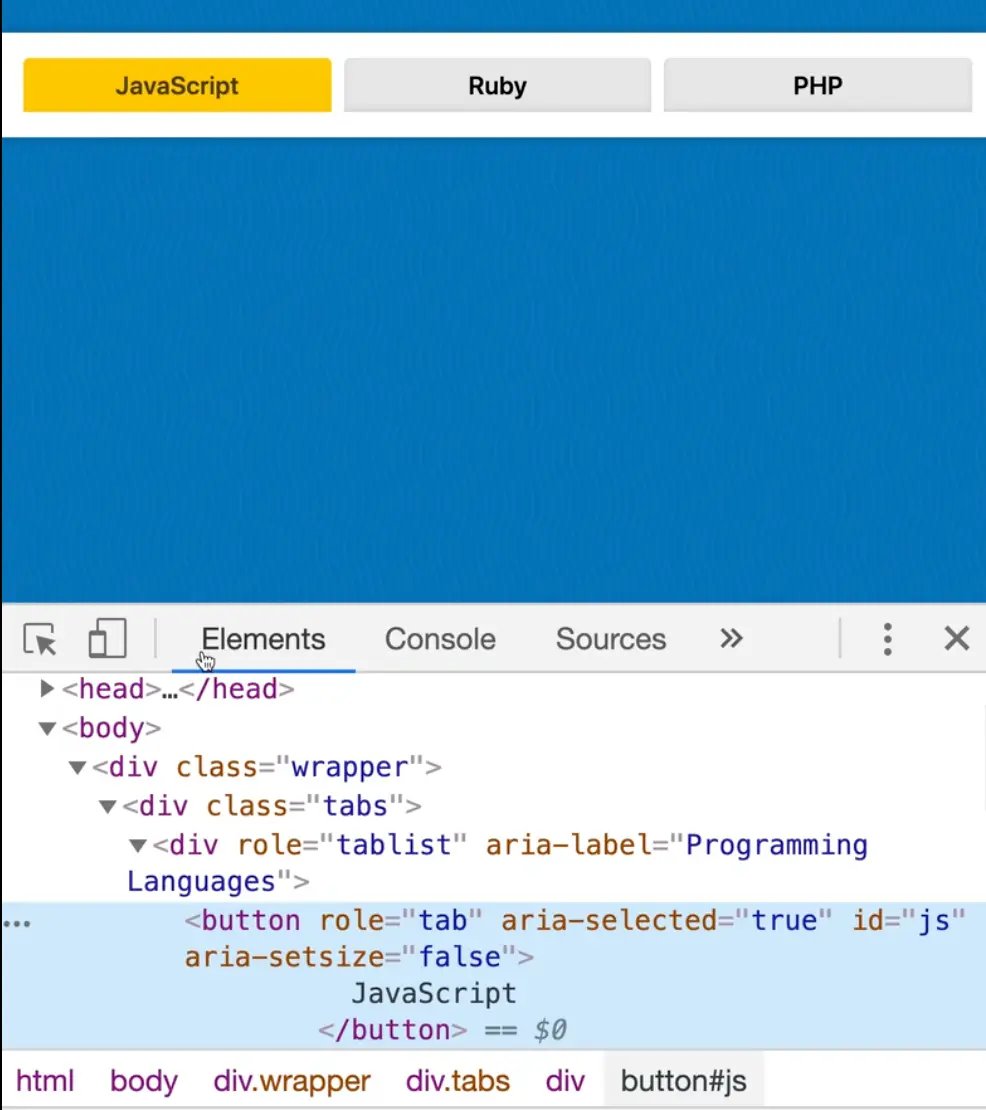
If you click on the JavaScript button which still looks selected, and flip to the console and do $0.ariaSelected, it will return false.
So why is it not updating?
If you flip back to the elements tab, you will see the attribute value equals true. It never updated. What happened!?
What happened is that with most properties in JavaScript, you can just access the property on the element directly.
However for some properties, including custom properties that you just made up, as well as aria properties, it looks like you cannot use that method.
The only other way is to use the .setAttribute() method.
Wes looked at some docs and for aria properties, you should always use the setAttribute and getAttribute method on the element instead of on the property.
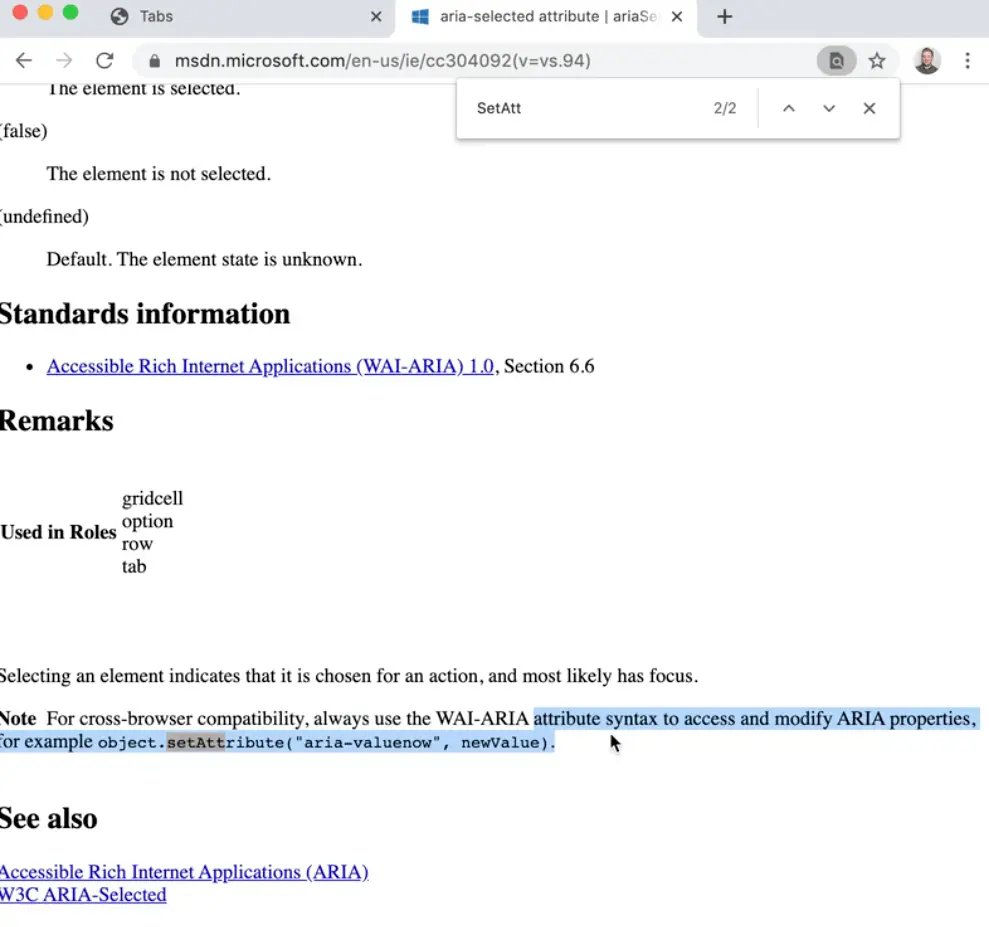
So some properties like .alt or .src or .title, those things can be done via properties on the element, but not for aria attributes.
Modify the code like so 👇
function handleTabClick(event) {
  // hide all tab panels
  tabPanels.forEach(panel => {
    panel.hidden = true;
  });
  // mark all tabs as unselected
  tabButtons.forEach(tab => {
    // tab.ariaSelected = false;
    tab.setAttribute('aria-selected', false);
  });
}
If you were to refresh the page and click one of the tabs, all the tabs will no longer be selected.
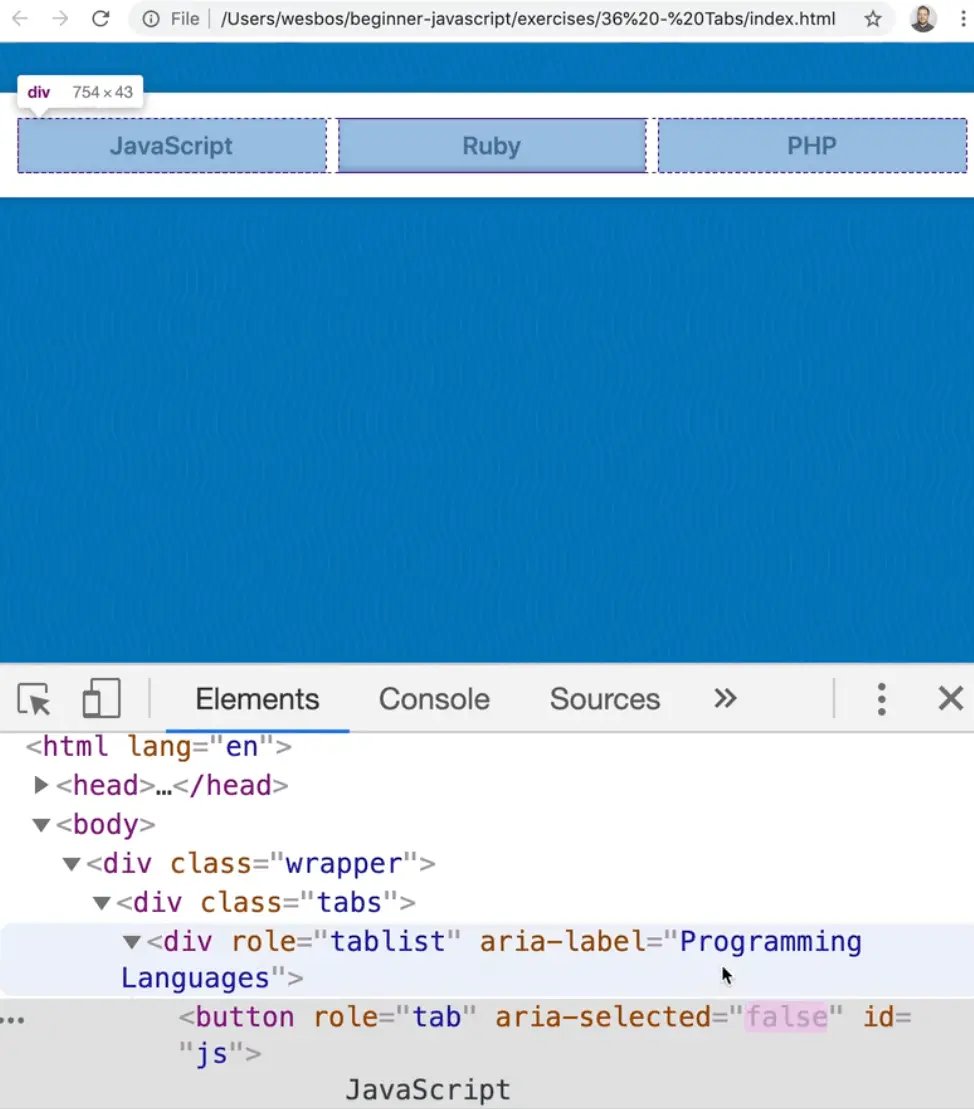
Now, mark the clicked tab as selected.
event.currentTarget.setAttribute('aria-selected', true);
When you click one, you will see it will set and remove the aria selected.
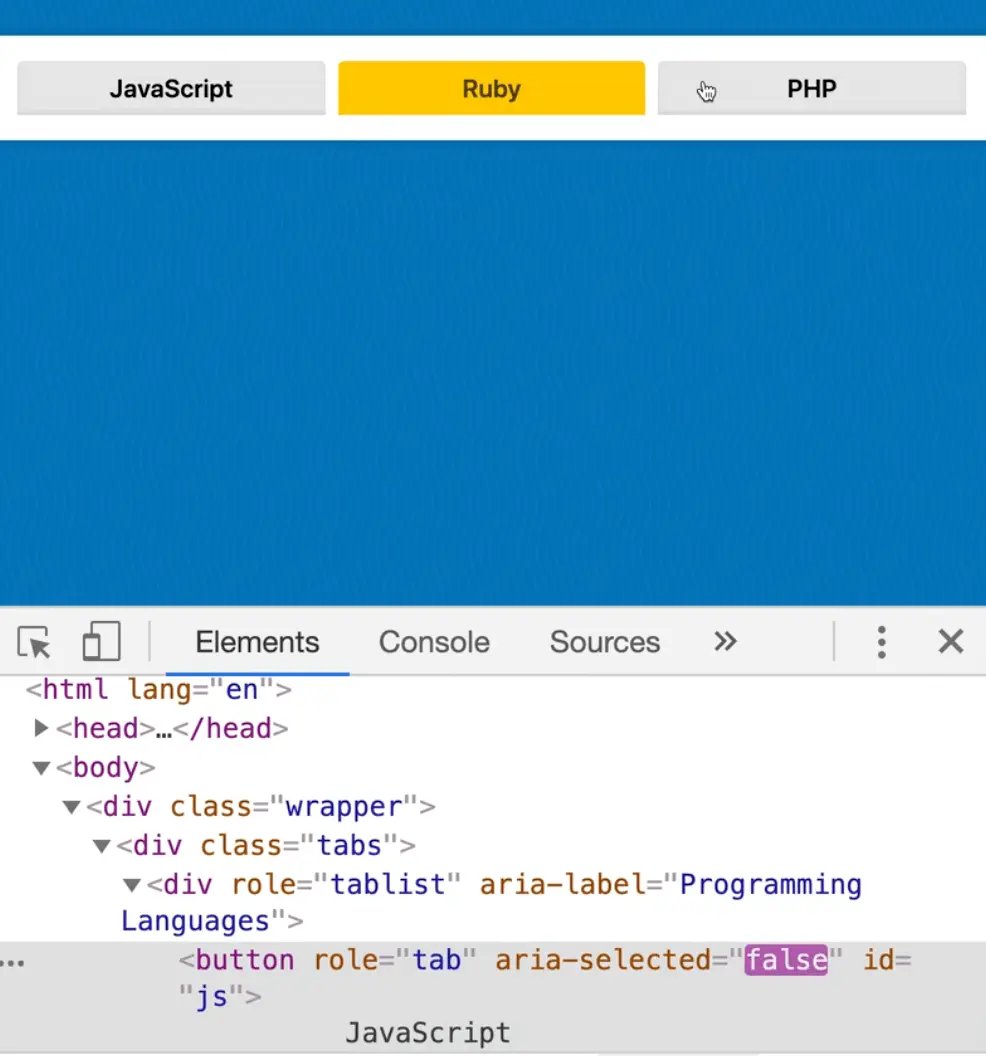
You might have noticed that we are not using any classes here and the reason for that is if you can reach for an accessibility attribute over a class then do that so you can kill 2 birds with one stone.
Next, you need to find the associated tab panel and show it.
They are associated using the button id and aria-labelledby attribute of the tab panel.
So if someone clicks on the button below, we need to find the tabPanel with aria-labelledby="js" attribute value. 👇
<button role="tab" aria-selected="true" id="js">
  JavaScript
</button>
You could do this a couple of ways.
First grab that id.
const id = event.currentTarget.id;
You might notice that when you save the code, the editor modifies that line like so 👇
const { id } = event.currentTarget;
That is because instead of saving the variable the same as the property on something, you can destructure it to create an id variable from that thing.
That is handy if you ever want to pull other properties like an alt or a src.
function handleTabClick(event) {
  // hide all tab panels
  tabPanels.forEach(panel => {
    panel.hidden = true;
  });
  // mark all tabs as unselected
  tabButtons.forEach(tab => {
    // tab.ariaSelected = false;
    tab.setAttribute('aria-selected', false);
  });
  // mark the cli cked tab as selected
  event.currentTarget.setAttribute('aria-selected', true);
  // find the associated tabPanel and show it!
  const { id } = event.currentTarget;
}
Now you need to find the associate tab panel.
There are a couple of ways you can do that.
You can simply use the id in a selector.
const tabPanel = tabs.querySelector(`[aria-labelledby="${id}"]`);
console.log(tabPanel);
tabPanel.hidden = false;
If you refresh the page, you will see that works.
Comment that code out and try another method, this time using find().
Converting a NodeList to an Array
Take the tabPanels and just loop over it until you find the one you want.
If you added the following code, would it work?
tabPanels.find()

No, it does not.
Why not?
That is because the .find() method is only a method on arrays.
If you recall from when we logged tabPanels, it is not an array, it is a NodeList, and it doesn't have all of those array methods.
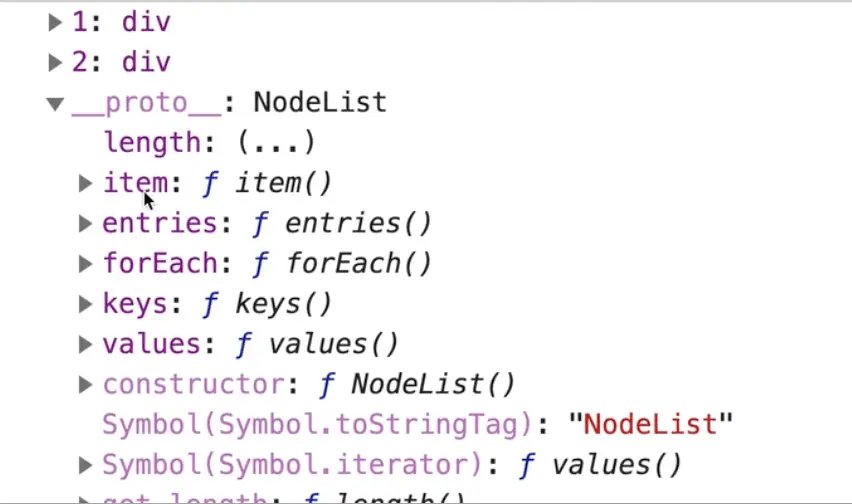
You can convert the NodeList into an array by wrapping it in Array.from() like so 👇
const tabPanels = Array.from(tabs.querySelectorAll('[role="tabpanel"]'));
Now using the find, you can check for each of them whether the aria-labelledby attribute equals the id.
const tabPanel = tabPanels.find((panel) => {
  if (panel.getAttribute("aria-labelledby") === id) {
    return true;
  }
});
You can actually refactor that to use an implicit return to return the outcome of the condition.
console.log(tabPanels);
const tabPanel = tabPanels.find(
  panel => panel.getAttribute('aria-labelledby') === id
);
console.log(tabPanel);
So what you did is you used find to find the tabPanel that matches the id we passed and you stored the result in a variable called tabPanel.
Now when you click on a tab, you will see the associated panel.
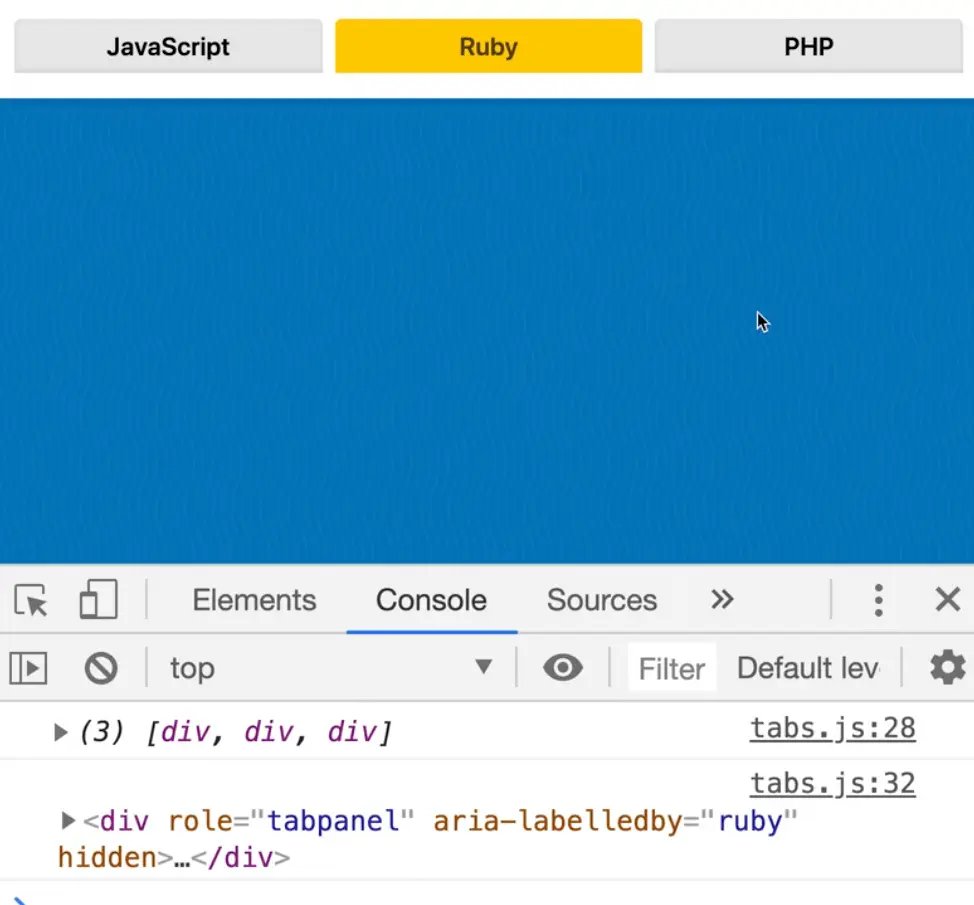
Replace the log with tabPanel.hidden = false; so it is no longer hidden.
Now your tabs should be working!
Both those methods are valid, it's up to you which you prefer.
Find an issue with this post? Think you could clarify, update or add something?
All my posts are available to edit on Github. Any fix, little or small, is appreciated!

