HTML from Strings and XSS

Enjoy these notes? Want to Slam Dunk JavaScript?
These are notes based on my Beginner JavaScript Video Course. It's a fun, exercise heavy approach to learning Modern JavaScript from scratch.
Use the code BEGINNERJS for an extra $10 off.
We are going to learn about creating HTML with strings, using backtick strings, which Wes showed us earlier.
This approach is Wes' favourite, but make sure to watch the video all the way through, because at the end Wes will show a potential security hole that comes up when using this method.
The main security flaw with this method is something called XSS which stands for cross-site scripting.
Create a new JavaScript file creating-with-strings.js and change the script src in the index.html file to point to our new file.
There is a property innerHTML, which is similar to innerText, which we can get off an element.
Select the element with the class of item and log it. 👇
const item = document.querySelector('.item');
console.log(item.innerHTML);
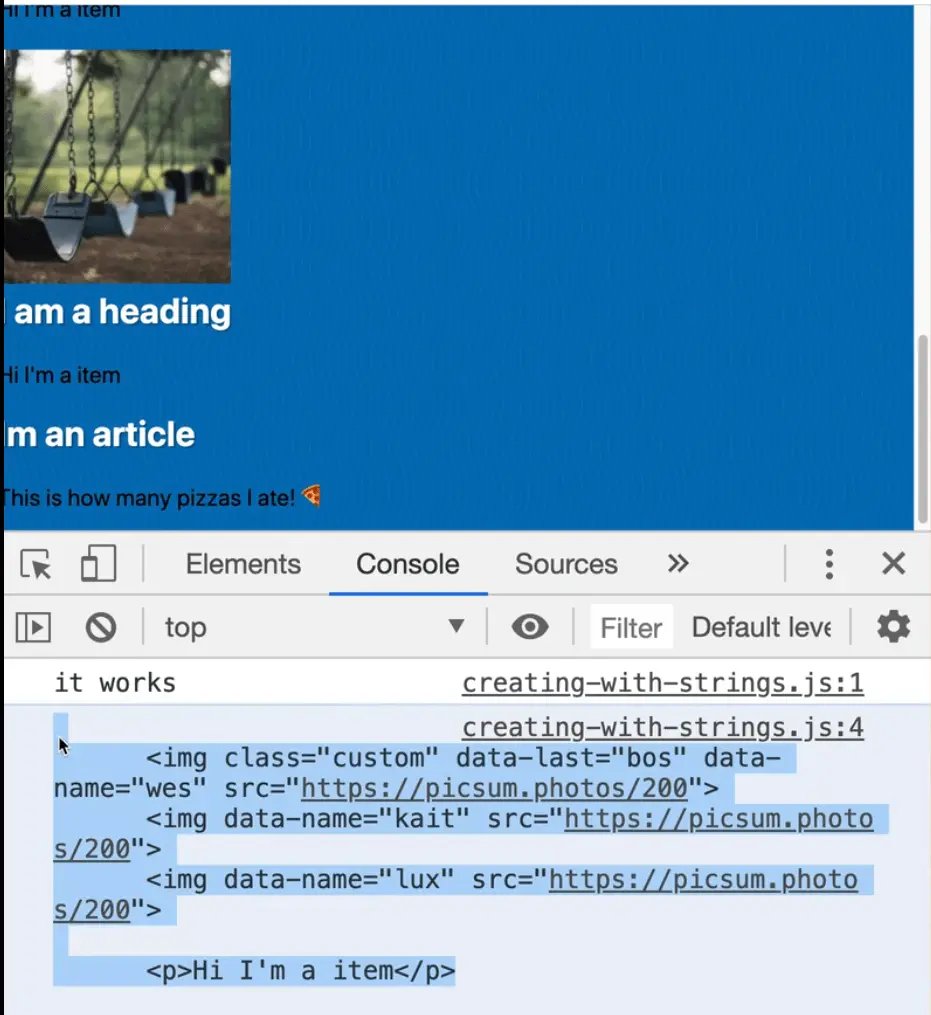
You can see that innerHTML is a string of all the HTML that makes up what is inside of it.
That is a getter.
What if we try to use it as a setter, as shown below? 👇
item.innerHTML = `<h1>Hey How are you?</h1>`;
console.log(item.innerHTML);
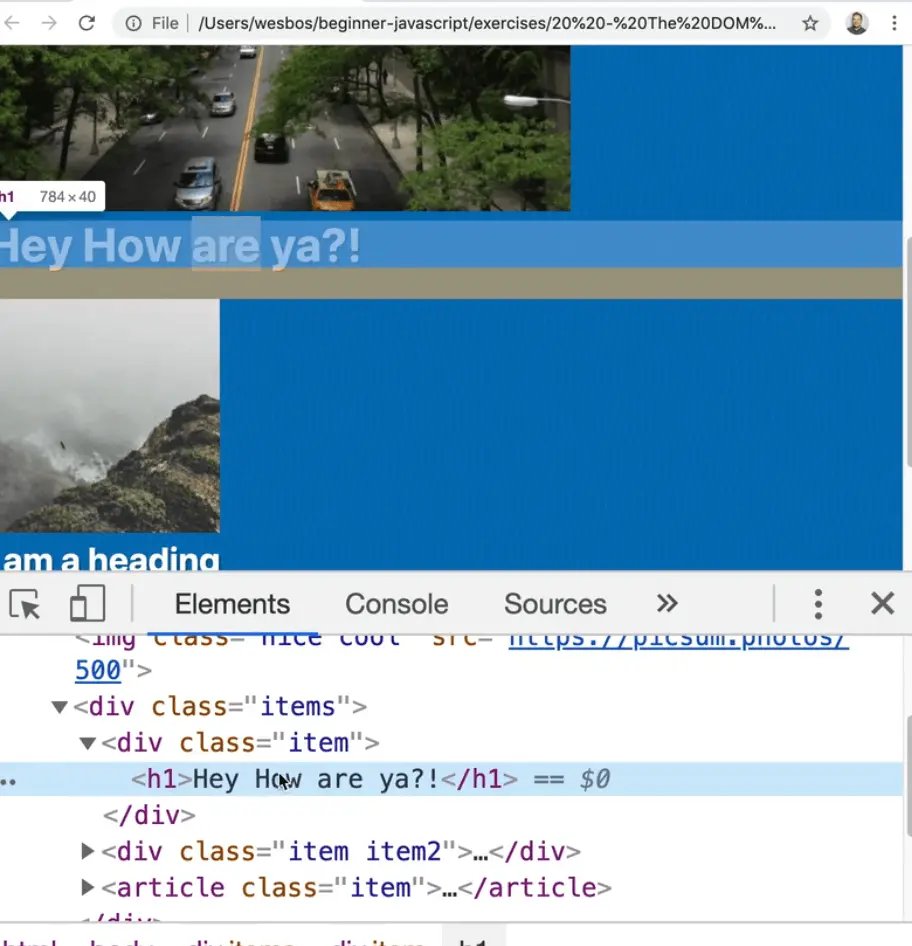
The inside of the div.item has been updated with some HTML.
That works because if you set the innerHTML of an element with just a string, it will take the text and dump that HTML into the item. This can be used instead of te document.createElement, or document.cloneElement methods we used in the previous lesson.
If the string it is valid HTML, the browser will take the string, parse it and turn it into all the items.
TIP: You may have noticed that in Wes code editor, he has the ability to type the first few letters of something and then expand it. He is using an extension called Emmet to get those expansions and using a command called Expand Abbreviation to expand them. It lets you write things like div.item.item which will expand out to <div class="item item"></div>.
One benefit of using backticks for single or double is that you can have a string that spans multiple lines, like so 👇
item.innerHTML = `
  <div>
    <h1>Hey How are you?</h1>;
  </div>
`;
It doesn't matter if you indent or put it all on one line, but having it on multiple lines does make it easier for you to read it when you code typically.
To recap: setting the innerHTML of your element is one way to dump a string of HTML in and have the browser create all the elements for us.
This method of inserting elements is useful not only because it has less steps than using document.createElement or similar methods, but it also gives you the ability to easily interpolate values.
Below is an example of that 👇
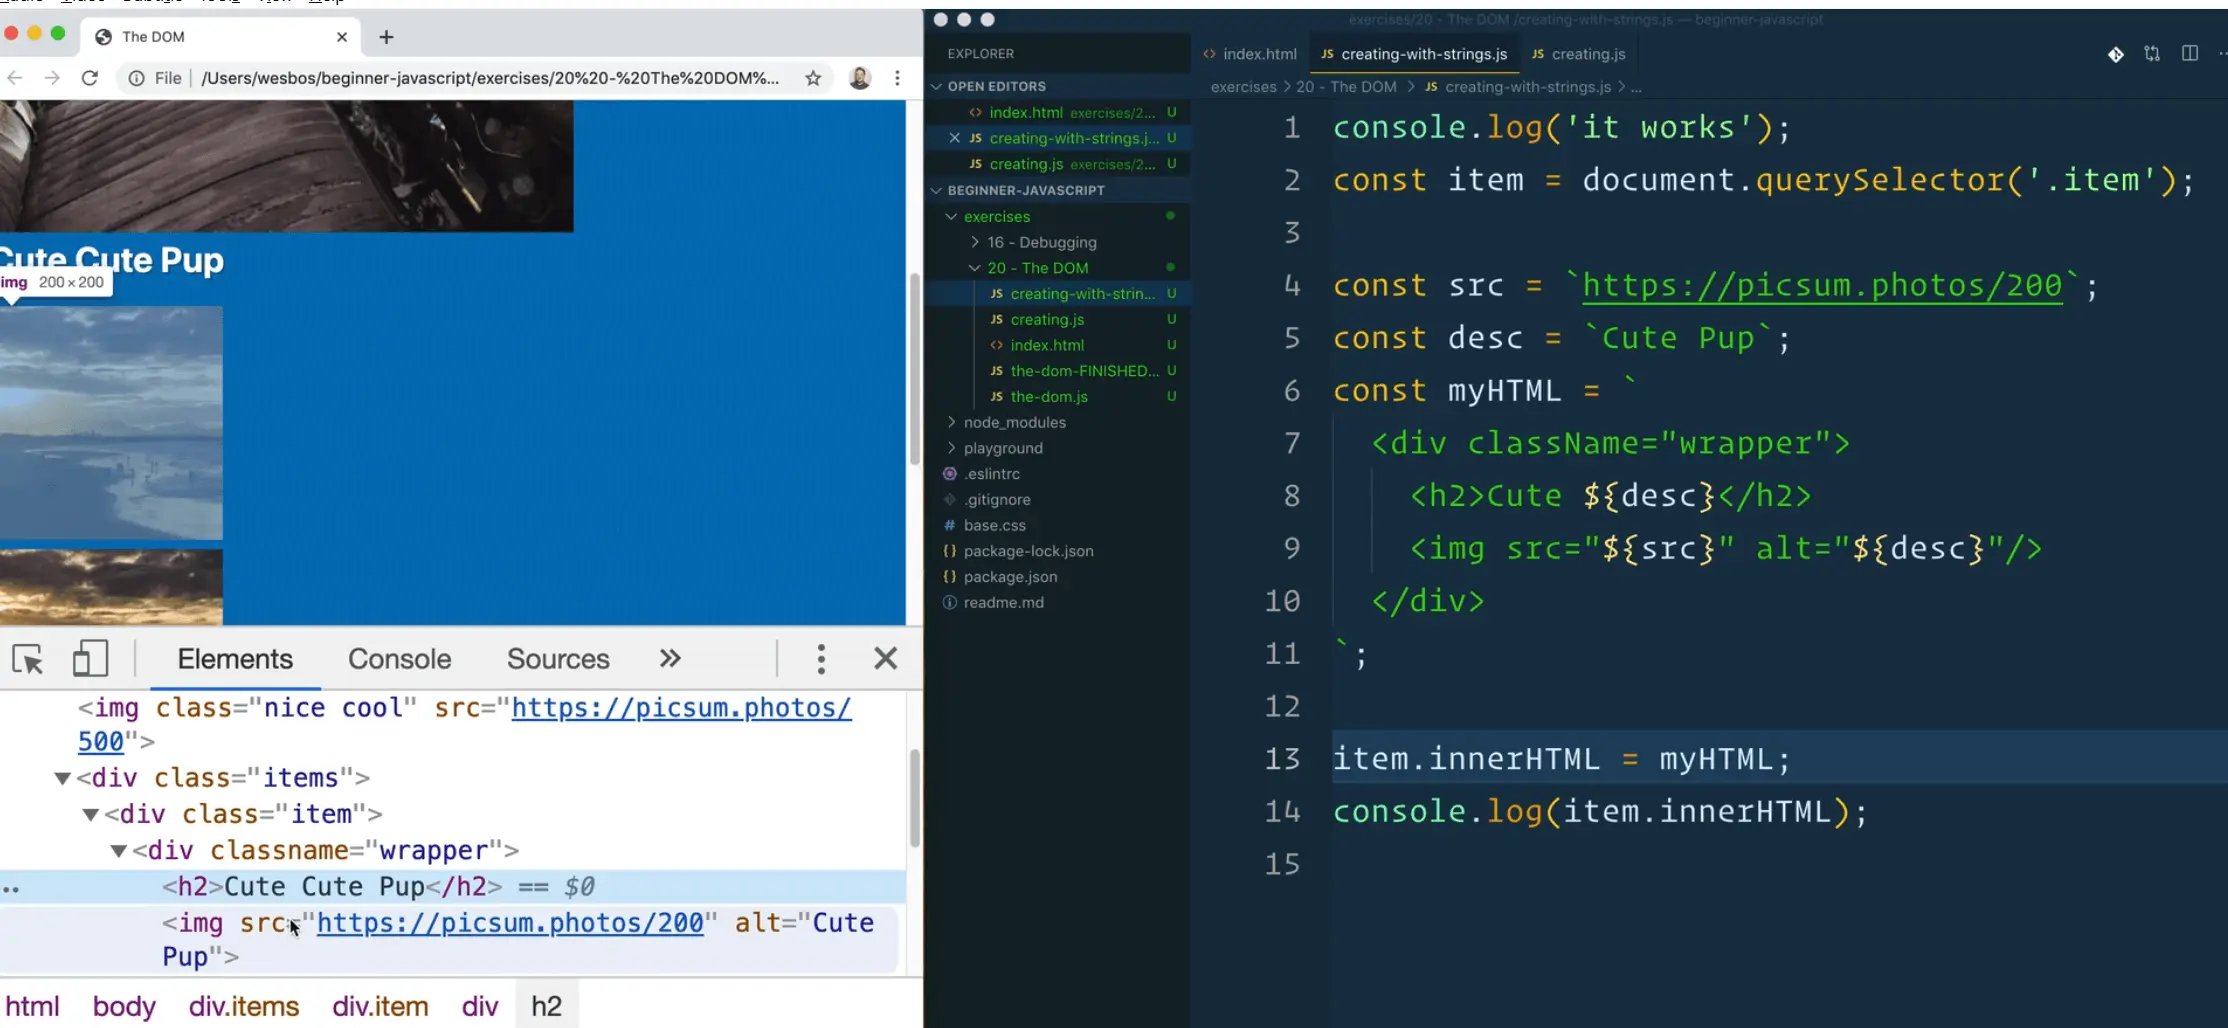
const src = `https://picsum.photos/200`;
const desc = "Cute pup";
const myHTML = `
  <div class="wrapper">
    <h2>Cute ${desc}</h2>
    <img src="${src}" alt="${desc}"/>
  </div>
`;
We are able to use the backtick syntax like ${variable}, which allows us to pop variables right into the string template that we have.
This is similar to templating that exists in almost every programming language, although they all look a little different. The general idea is the same.
When we set the innerHTML of an element to equal myHTML, all the variables will have been populated. 👇
item.innerHTML = myHTML;
console.log(item.innerHTML);
We could go a step further with the following code.
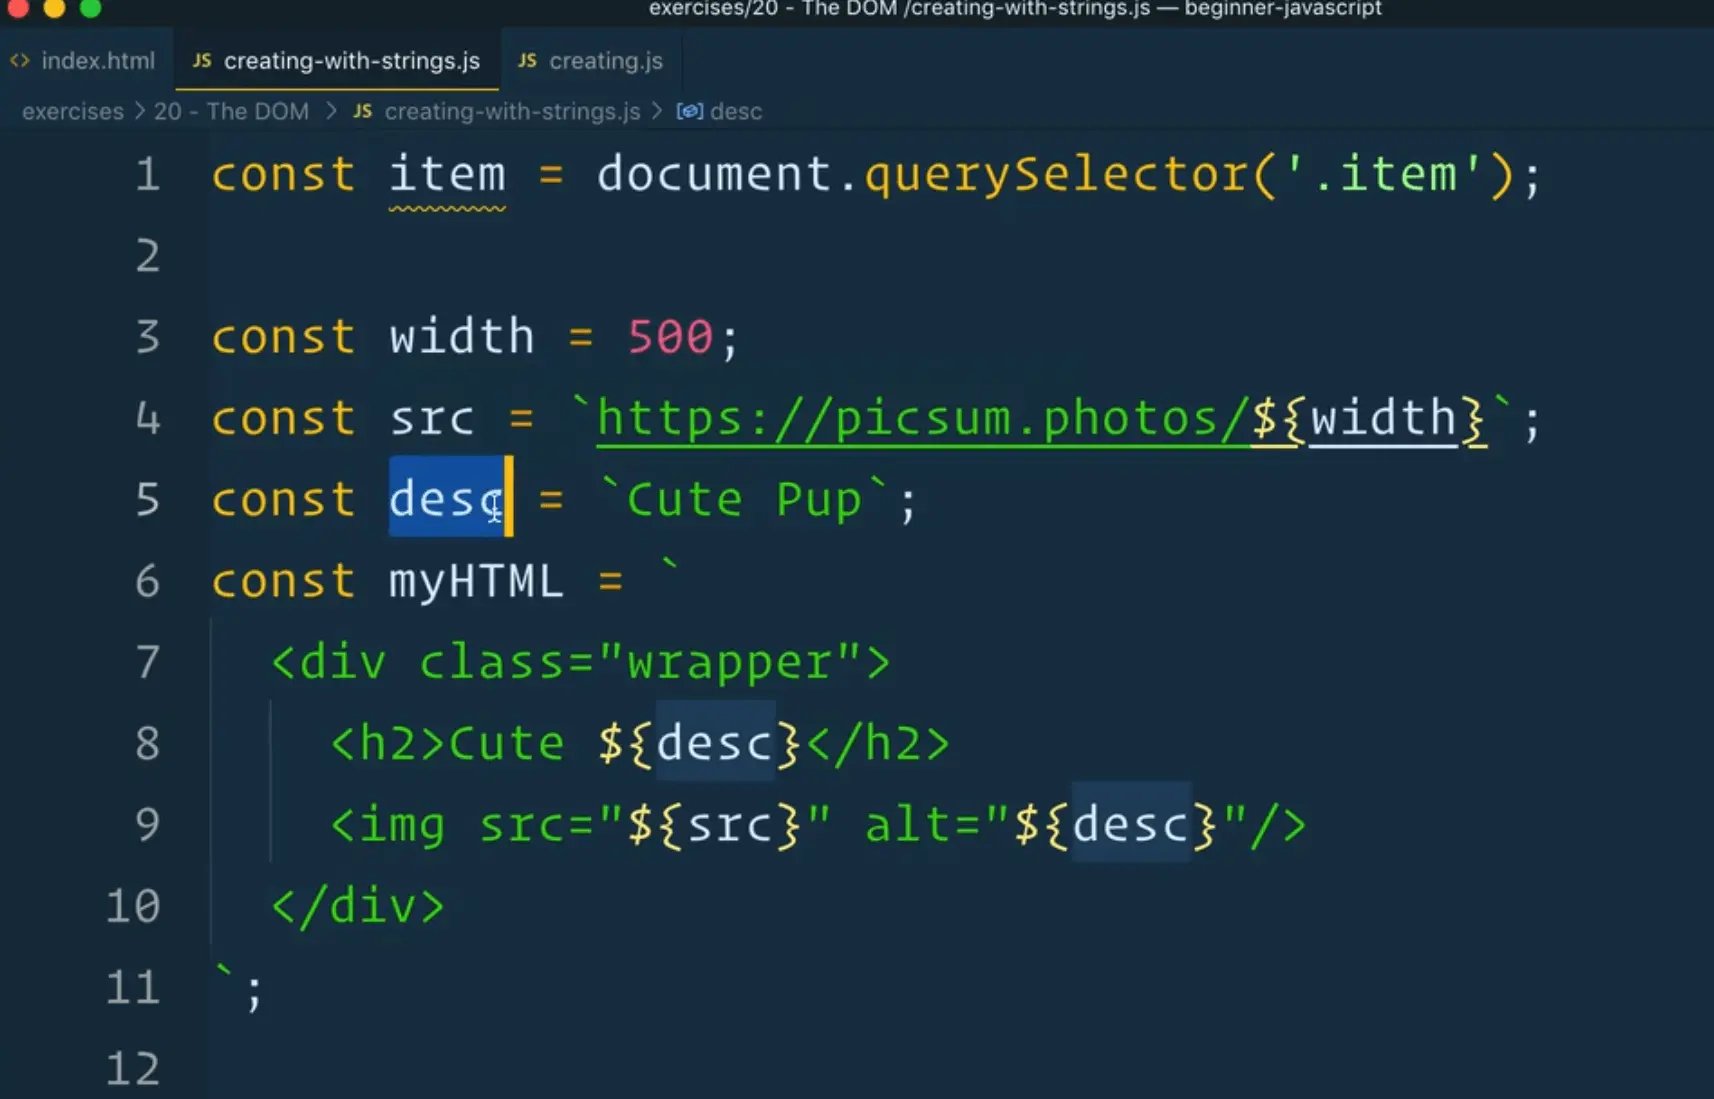
Take a look at the width variable and how we are interpolating the width variable in the src variable declaration.
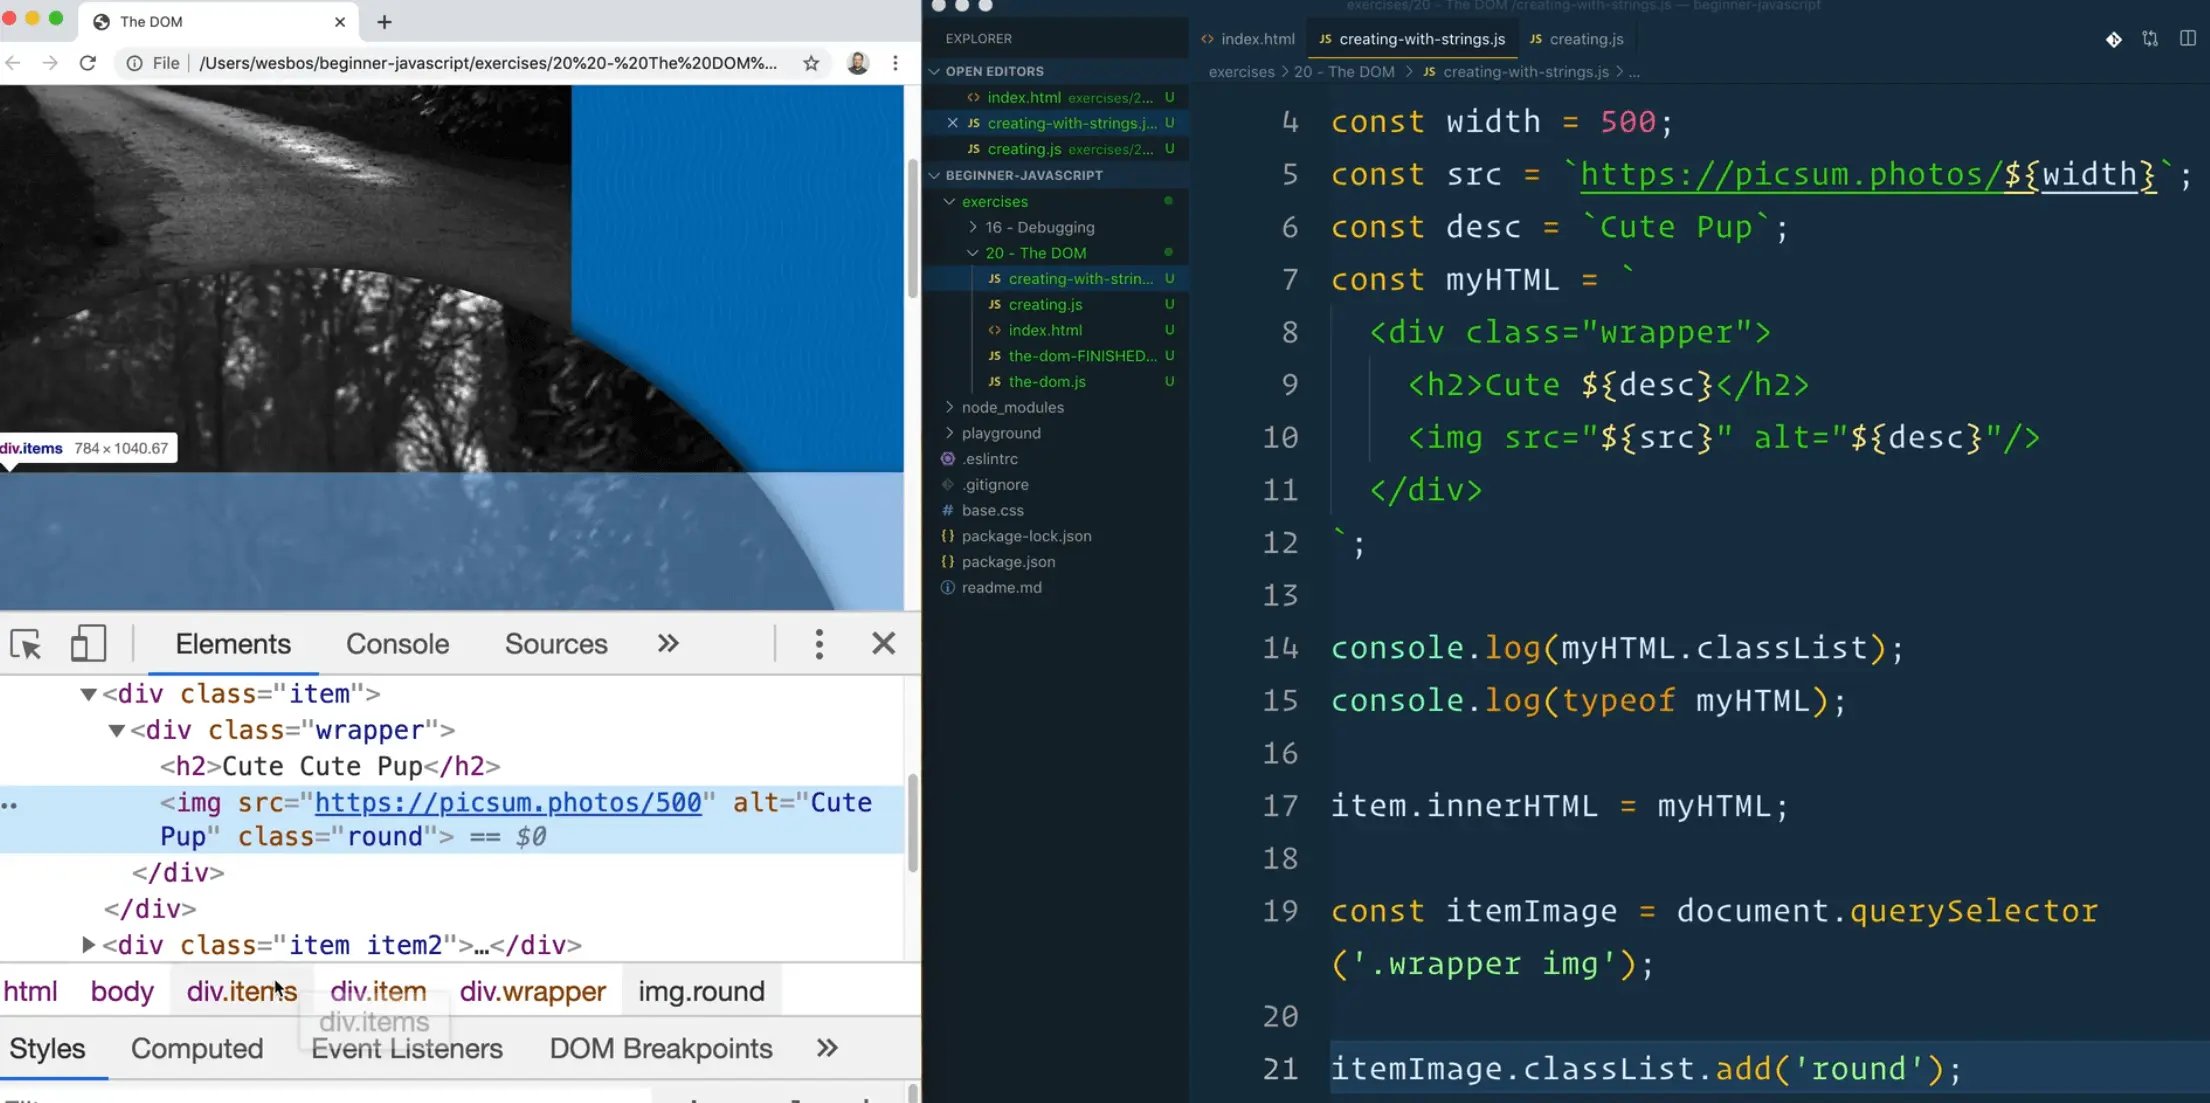
const width = 500;
const src = `https://picsum.photos/${width}`;
const desc = "Cute pup";
const myHTML = `
  <div class="wrapper">
    <h2>Cute ${desc}</h2>
    <img src="${src}" alt="${desc}"/>
  </div>
`;
If you refresh the page, the image link will now return a much larger photo of 500px.
Besides security, one of the downsides to using this method to insert HTML is that the contents of the myHTML variable are not elements, they are just strings.
You can see that in two ways.
First, you can log the value of myHTML and you can also check and log it's type, like so 👇
console.log(typeof myHTML);

myHTML.classList.add('special');
That means we cannot do things like add the code above 👆.
If you try to do that, it will give you the following error 👇
Cannot read property 'add' of undefined

Similarly, if you try to do log myHTML.classList, you will see that it is also undefined.
Why?
Because it is only a string.
It only becomes an element once we dump it into the DOM by setting the innerHTML.
If you want to do things like add event listeners, add to the classList, dynamically change any attributes, like title or alt or src, it is not possible until you first dump it into the DOM.
Once you dump it into the DOM, you have to go ahead and pull it out.
Here is an example.
Let's say we wanted to add a class to the image within myHTML.
We would have to do that like so 👇
const itemImage = document.querySelector('.wrapper img');
itemImage.classList.add('round');
document.createRange() and document.createFragment()
There are a few ways you can get around that and do the best of both worlds which is using document.createRange() and document.createFragment().
Remove everything below the myHTML declaration within creating-with-strings.js.
Next, let's now turn the string into a DOM element.
const myFragment = document.createRange();
console.log(myFragment);
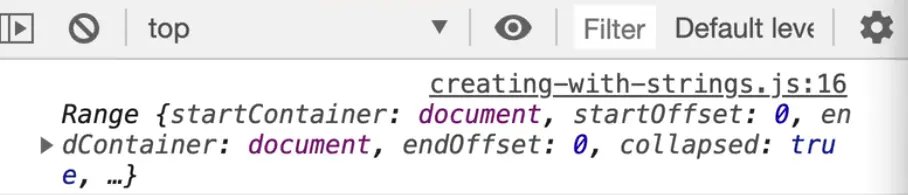
This code creates something called a range.
A range is essentially a collection of elements or part of HTML that we can then work with. That is exactly what we want, we want to take the myHTML string and create a couple of fragments.
We can call another method directly on document.createRange() called .createContextualFragment(); which takes in a string as a parameter, like so 👇
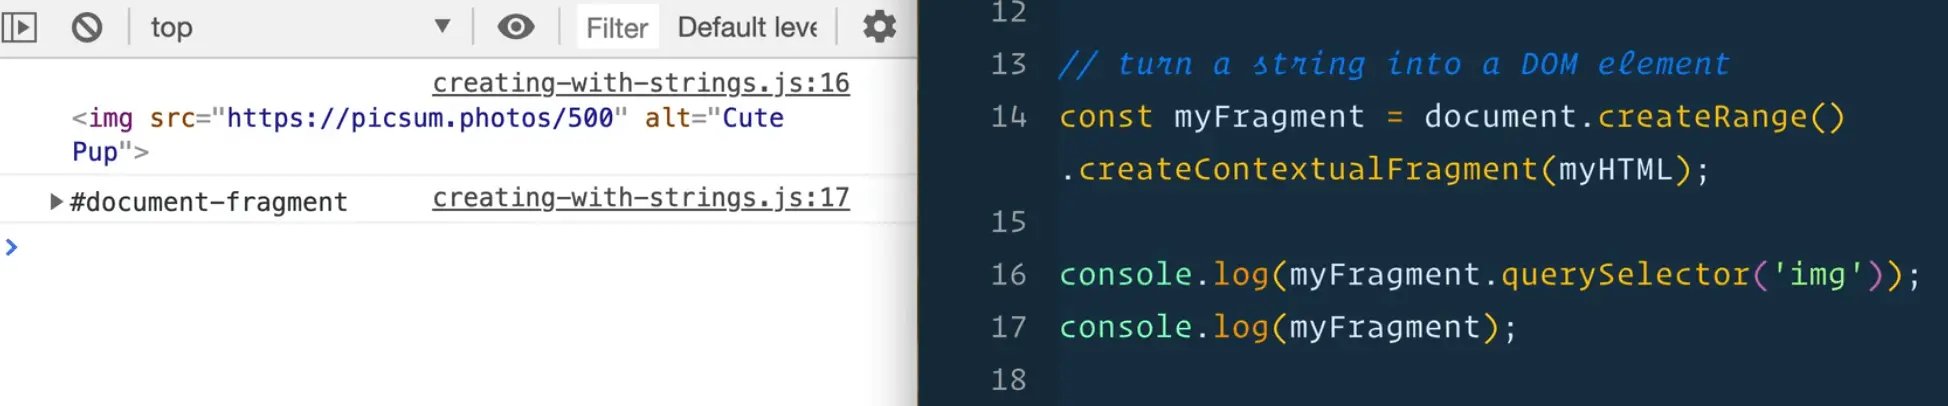
const myFragment = document.createRange().createContextualFragment(myHTML);
console.log(myFragment);
If you open the page in a browser and view the console, you will see that we have this thing called a document fragment (which is just a way of saying some HTML).

Now, from within this fragment, we are able to access all of the elements that live inside of it.
What we have done is turned our HTML into true elements, that are still not on the page anywhere, but we have them as DOM elements and do do things like look for an image inside of a fragment using the following code 👇
myFragment.querySelector('img');
Let's now try to append the fragment to the document.
Let's try appendChild().
document.body.appendChild(myFragment);
That works! You could also do 👇
document.body.appendChild(myFragment);
You could also use insertAdjacent() which we learned about previously.
To recap:
When you want to create HTML from a string, you can dump it into the document using innerHTML, OR when you need to do things with the elements in JavaScript, you can turn it into DOM Nodes before it is dumped into the document with createContextualFragment().
Security and Sanitization
We will have an entire video on security later in the course, but for now, we need to talk about the potential pitfalls of inserting HTML using strings.
One scenario you might run into is let's say you have an application where users have a profile which they can edit and customize such as changing their name or adding a description.
If a user were to put HTML where the description input is, what could happen is the HTML in turn could be rendered on to the page.
Let's demonstrate with an example.
Let's say we are taking this desc variable from somebody.
They could put add the following in their description 👇
const desc = `Cute pup <h1>LOVE THIS GUY</h1>`;
Add the code about where it says Cute Pup and refresh the HTML page.
You should now see that there is actually an h1 tag that wasn't created from us.
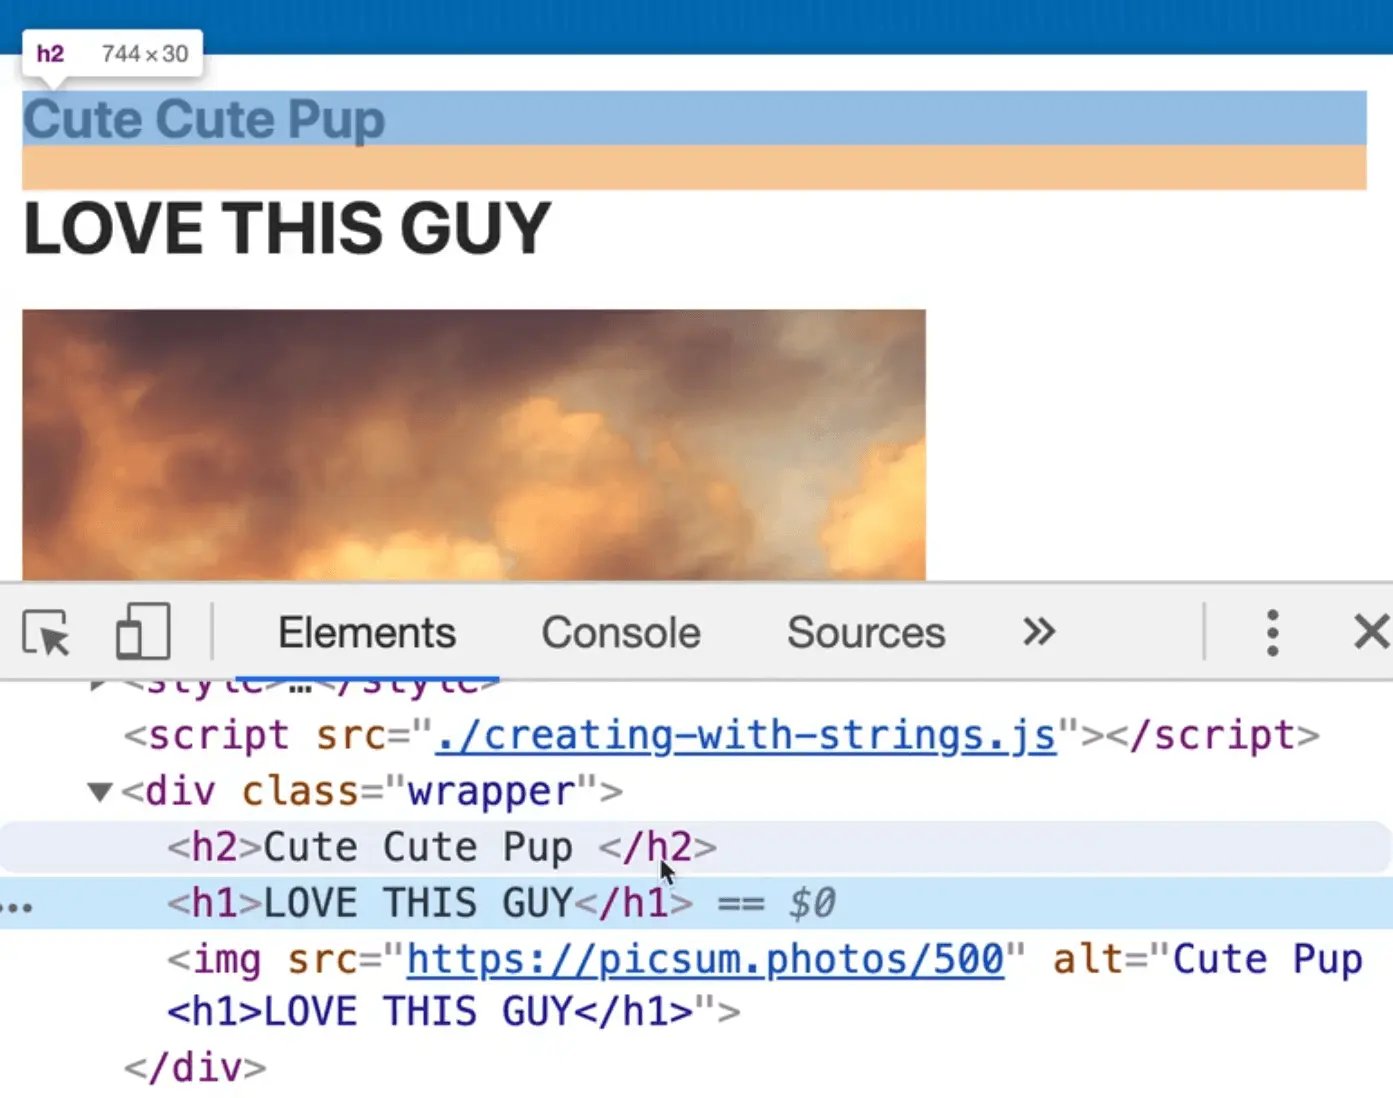
Remember, in this example scenario, the description value would be coming from a database, from someone's editor when they typed it in. They just started to put some HTML.
They could also something like 👇
const desc = `Cute pup <h1>LOVE THIS GUY</h1><style>*{display:none;}</style>`;s
If you refresh the HTML page, you will see all the content is gone.
Aside: This is what MySpace allowed you to do. You used to be able to put in your own style tags. So did Neopets.
In this scenario, we were just expecting the user to enter in text but they hijacked it and added whichever HTML they wanted to.
XSS (Cross Site Scripting)
That is all fun and games until you get into XSS which is shortform for cross-site scripting.
XSS is where people try to insert script tags using a method like entering an HTML string in a text input such as your profile name.
The browser will then run the script tag, and you can do anything you want with that, like drain someone's bank account.
Imagine you were signing in to your online banking and your bank asked you to enter your name, and you included a script tag. You could do anything you want outside of that including deleting things, sending money, any type of malicious acting.
A very simple example of that is let's say you want to allow someone to include an image in the description of the picture from the example above.
Something like the following 👇
const desc = `Cute Pup <img src="https://picsum.photos/50"/>`;
That is okay, but let's say someone hijackts the onload event that is accessible via an attribute on the img element? That will run whatever JavaScript is supplied to it when the image loads.
For example 👇
const desc = `Cute Pup <img onload="alert('hacked');" src="https://picsum.photos/50"/>`;
If you refresh the HTML page, you will see an alert.
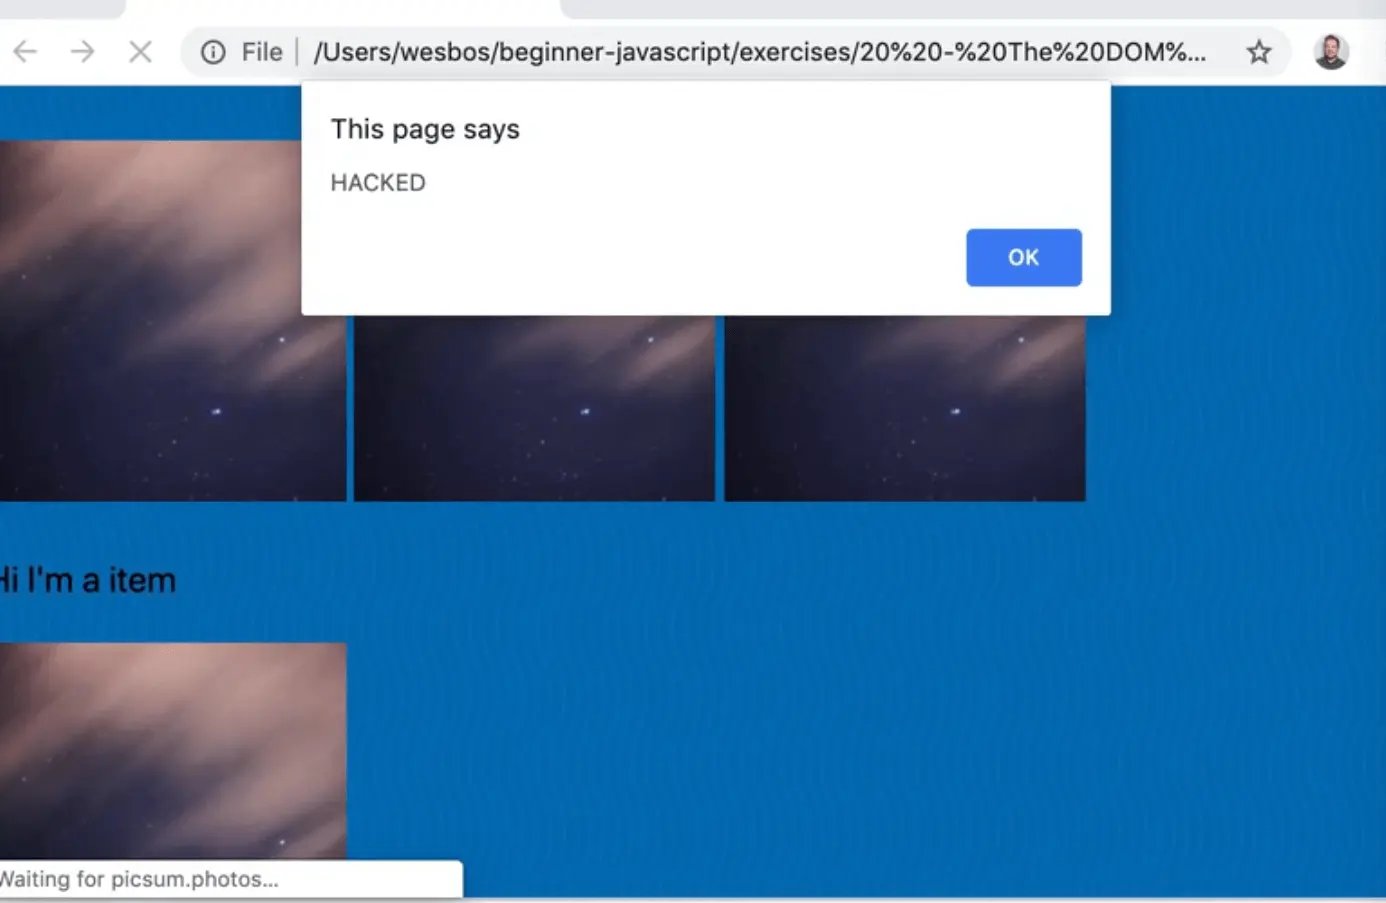
What happened there is you took data from the user and allowed them to run any JavaScript that they want on your website, which is a potential security hole.
Imagine that on Facebook you allowed someone to run any JavaScript, you could have your friends unfriend everyone, send malicious messages etc. Anytime you allow a third party to run JavaScript on your page, that is a huge security hole.
The only JavaScript that should be running on your page is JavaScript that you, the developer, authored, and from approved parties like Google Analytics.
To recap:
Cross Site scripting is when a third party injects a script tag through a security hole like this.
In the security video, we will go over how to scrub your HTML of any potential security vulnerabilities like this before you dump it.
Find an issue with this post? Think you could clarify, update or add something?
All my posts are available to edit on Github. Any fix, little or small, is appreciated!

 I'm a Bracket Engineer!
Released a web app to generate custom 3D Printed power brick brackets.
I'm a Bracket Engineer!
Released a web app to generate custom 3D Printed power brick brackets.  Happy Canada Day ya hosers 🇨🇦